
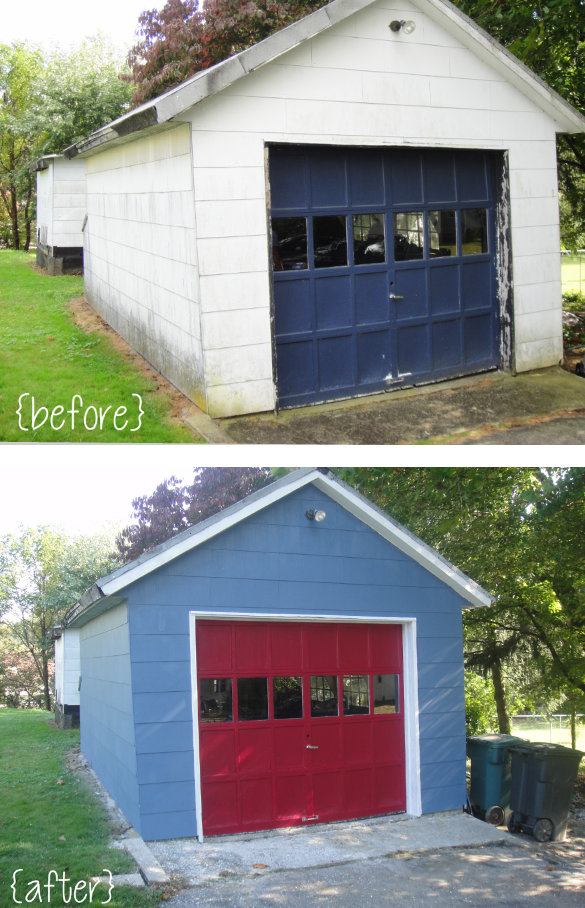
The Garage {before + after}
Our garage needed a little TLC. (Read: it was a hideous monstrosity of an eye sore that taunted me each time I traversed our driveway.) So, over the past few weeks I worked away at it, little by little to make it a better space. I’m really happy with how it turned out – it never ceases to amaze me the difference that paint can make. Here’s how I repaired the windows and gave the garage a face lift for $60.
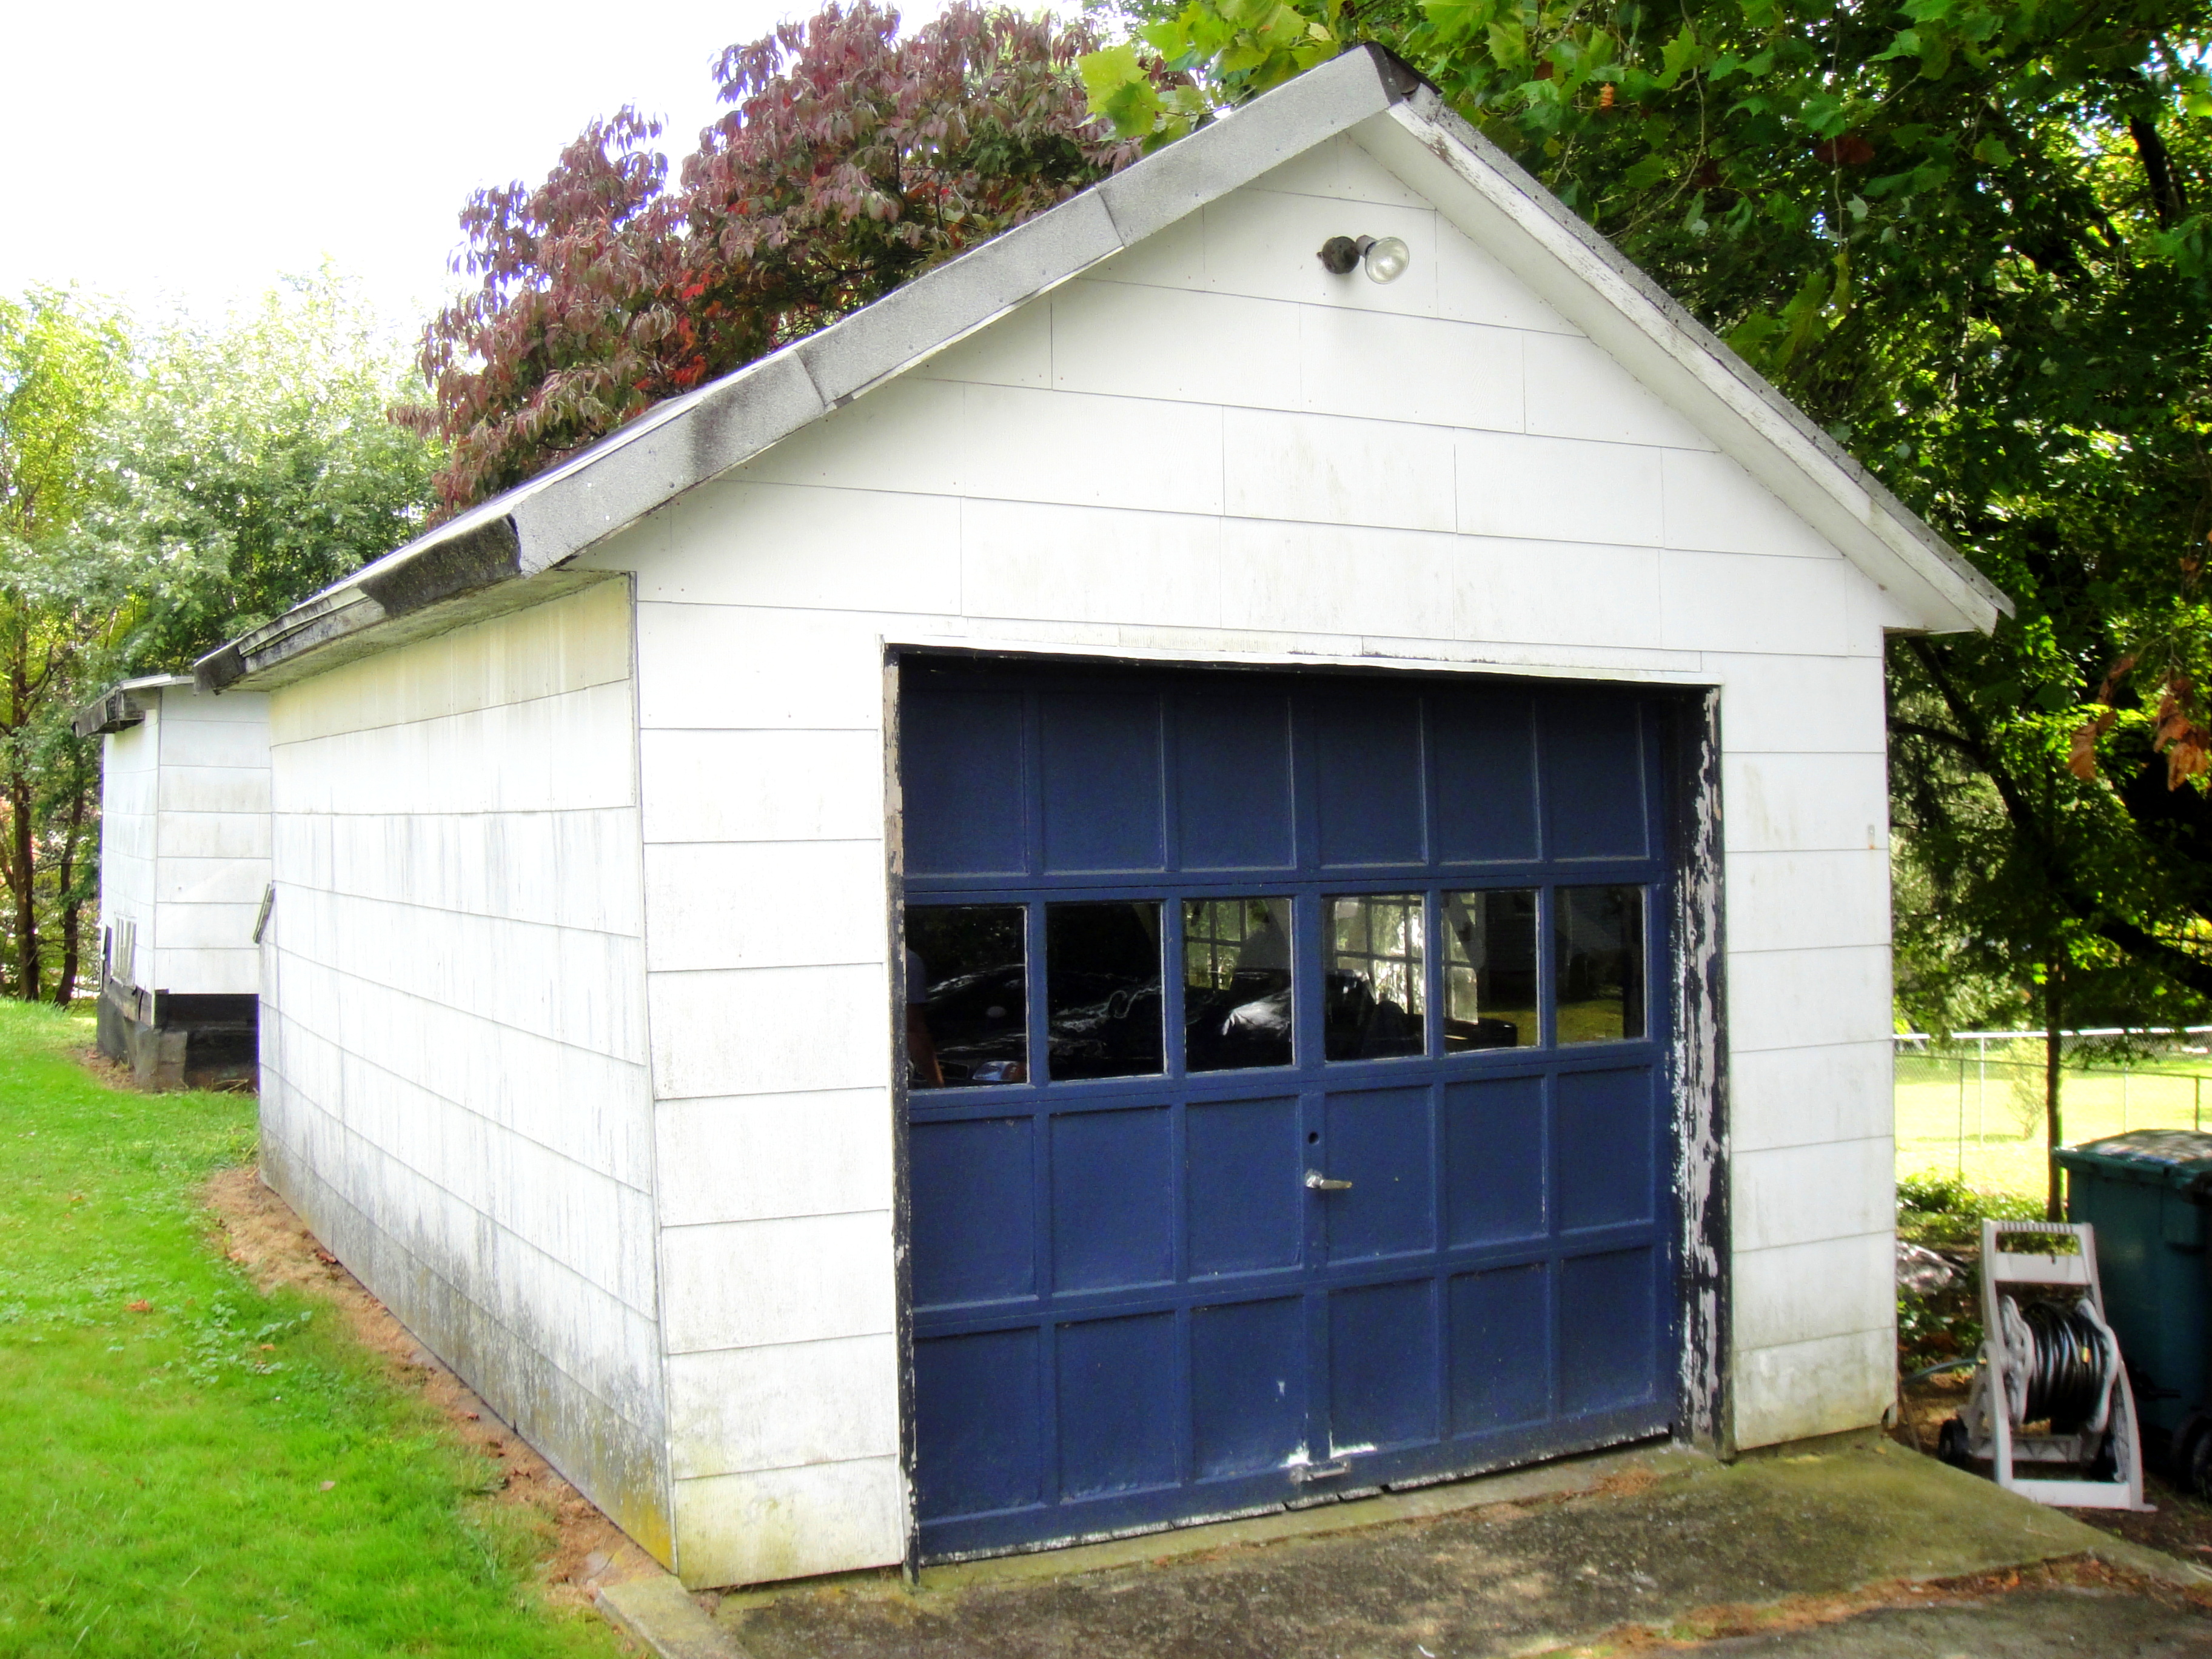
Aside from the worn out look and desperate need for color, each side of the garage had its own challenges. First the front:

The light fixture absolutely leaves something to be desired, but from an economic standpoint, a more cost effective way to make this building look better is to make it appear more symmetrical. So, we trimmed the roof paper on the right hand side to match the left.

My husband and I ran a chalk line to ensure the line would be straight and then cut the additional material off of the fascia.
Onto the next problem area, the right side:

As you can see, several panes of glass are missing and the wood is completely bare. This window was sort of daunting, but after a little research and having my dad show me how to glaze the first pane, it really wasn’t hard, just a bit time-consuming. I thoroughly scraped and caulked the frame, then I went to the hardware store and picked up the essentials to replace the six missing panes.
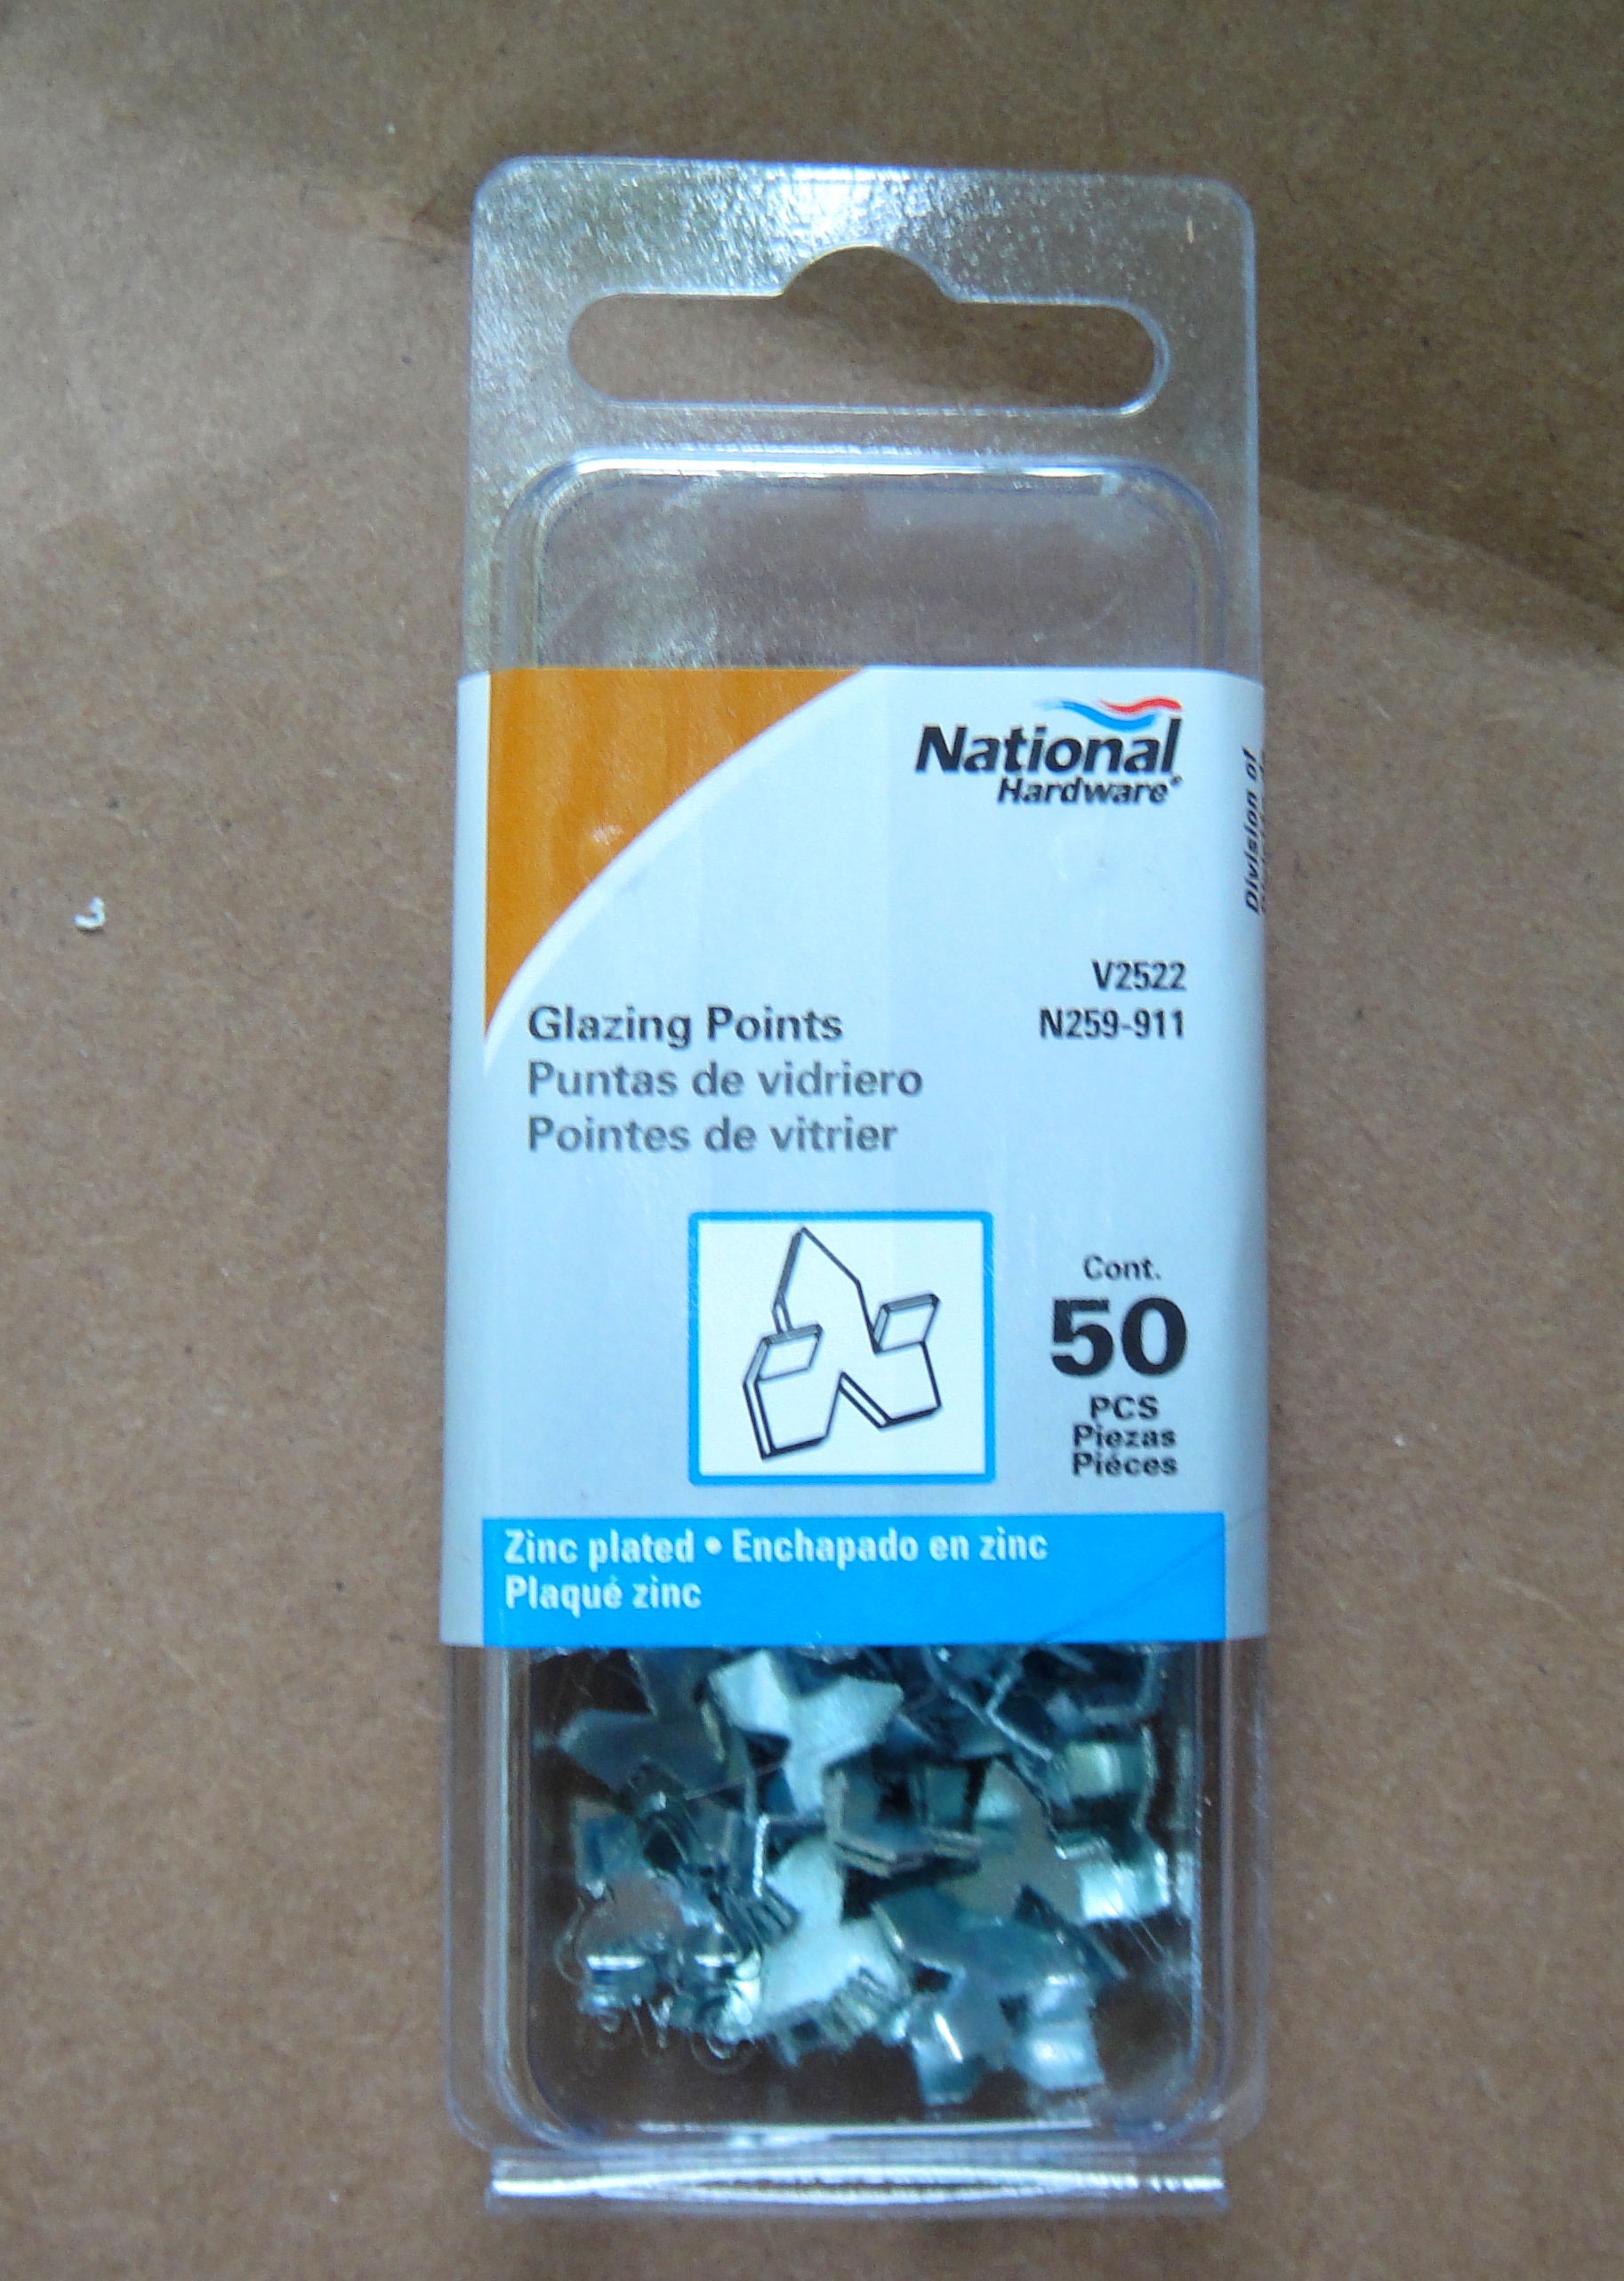
{glazing points}

{six panes of glass}

Then, I inserted the glass panes into the frame and secured them with the glazing points. I put two on the top and two on the bottom. A flat head screwdriver is a great tool for this task.

Next, I took some of the glazing compound and kneaded it with my hands, it’s kind of like silly putty. Once it becomes pliable you can start using it to secure the glass panes. Starting with the corners, I squished small amounts of the compound into the frame until I had an entire side covered. Then, I used a spackling knife to smooth it out.

{all of the panes with the fresh white lines and the fingerprint smudges are the panes I’ve replaced}
And then, onto the left side of the garage:
The major problem with this side is all of the mildew, dirt and mold. This side of the garage, along with the rest of it, required the brute force of a power washer. Here’s the building post-power washer:

A ton of grime and paint came off, making it a much better surface for paint to adhere to. And, just to share how glamorous and fun power washing can be, here’s an after of me.

No, no, I didn’t pee myself with excitement at the prospect of having a garage that didn’t shame me. It turns out that a power washer completely saturates the operator…if she is a complete noob. I have since learned the value of a poncho and rain boots.
Three coats of Montpelier Red Velvet, Bungalow Blue and bright white trim later…
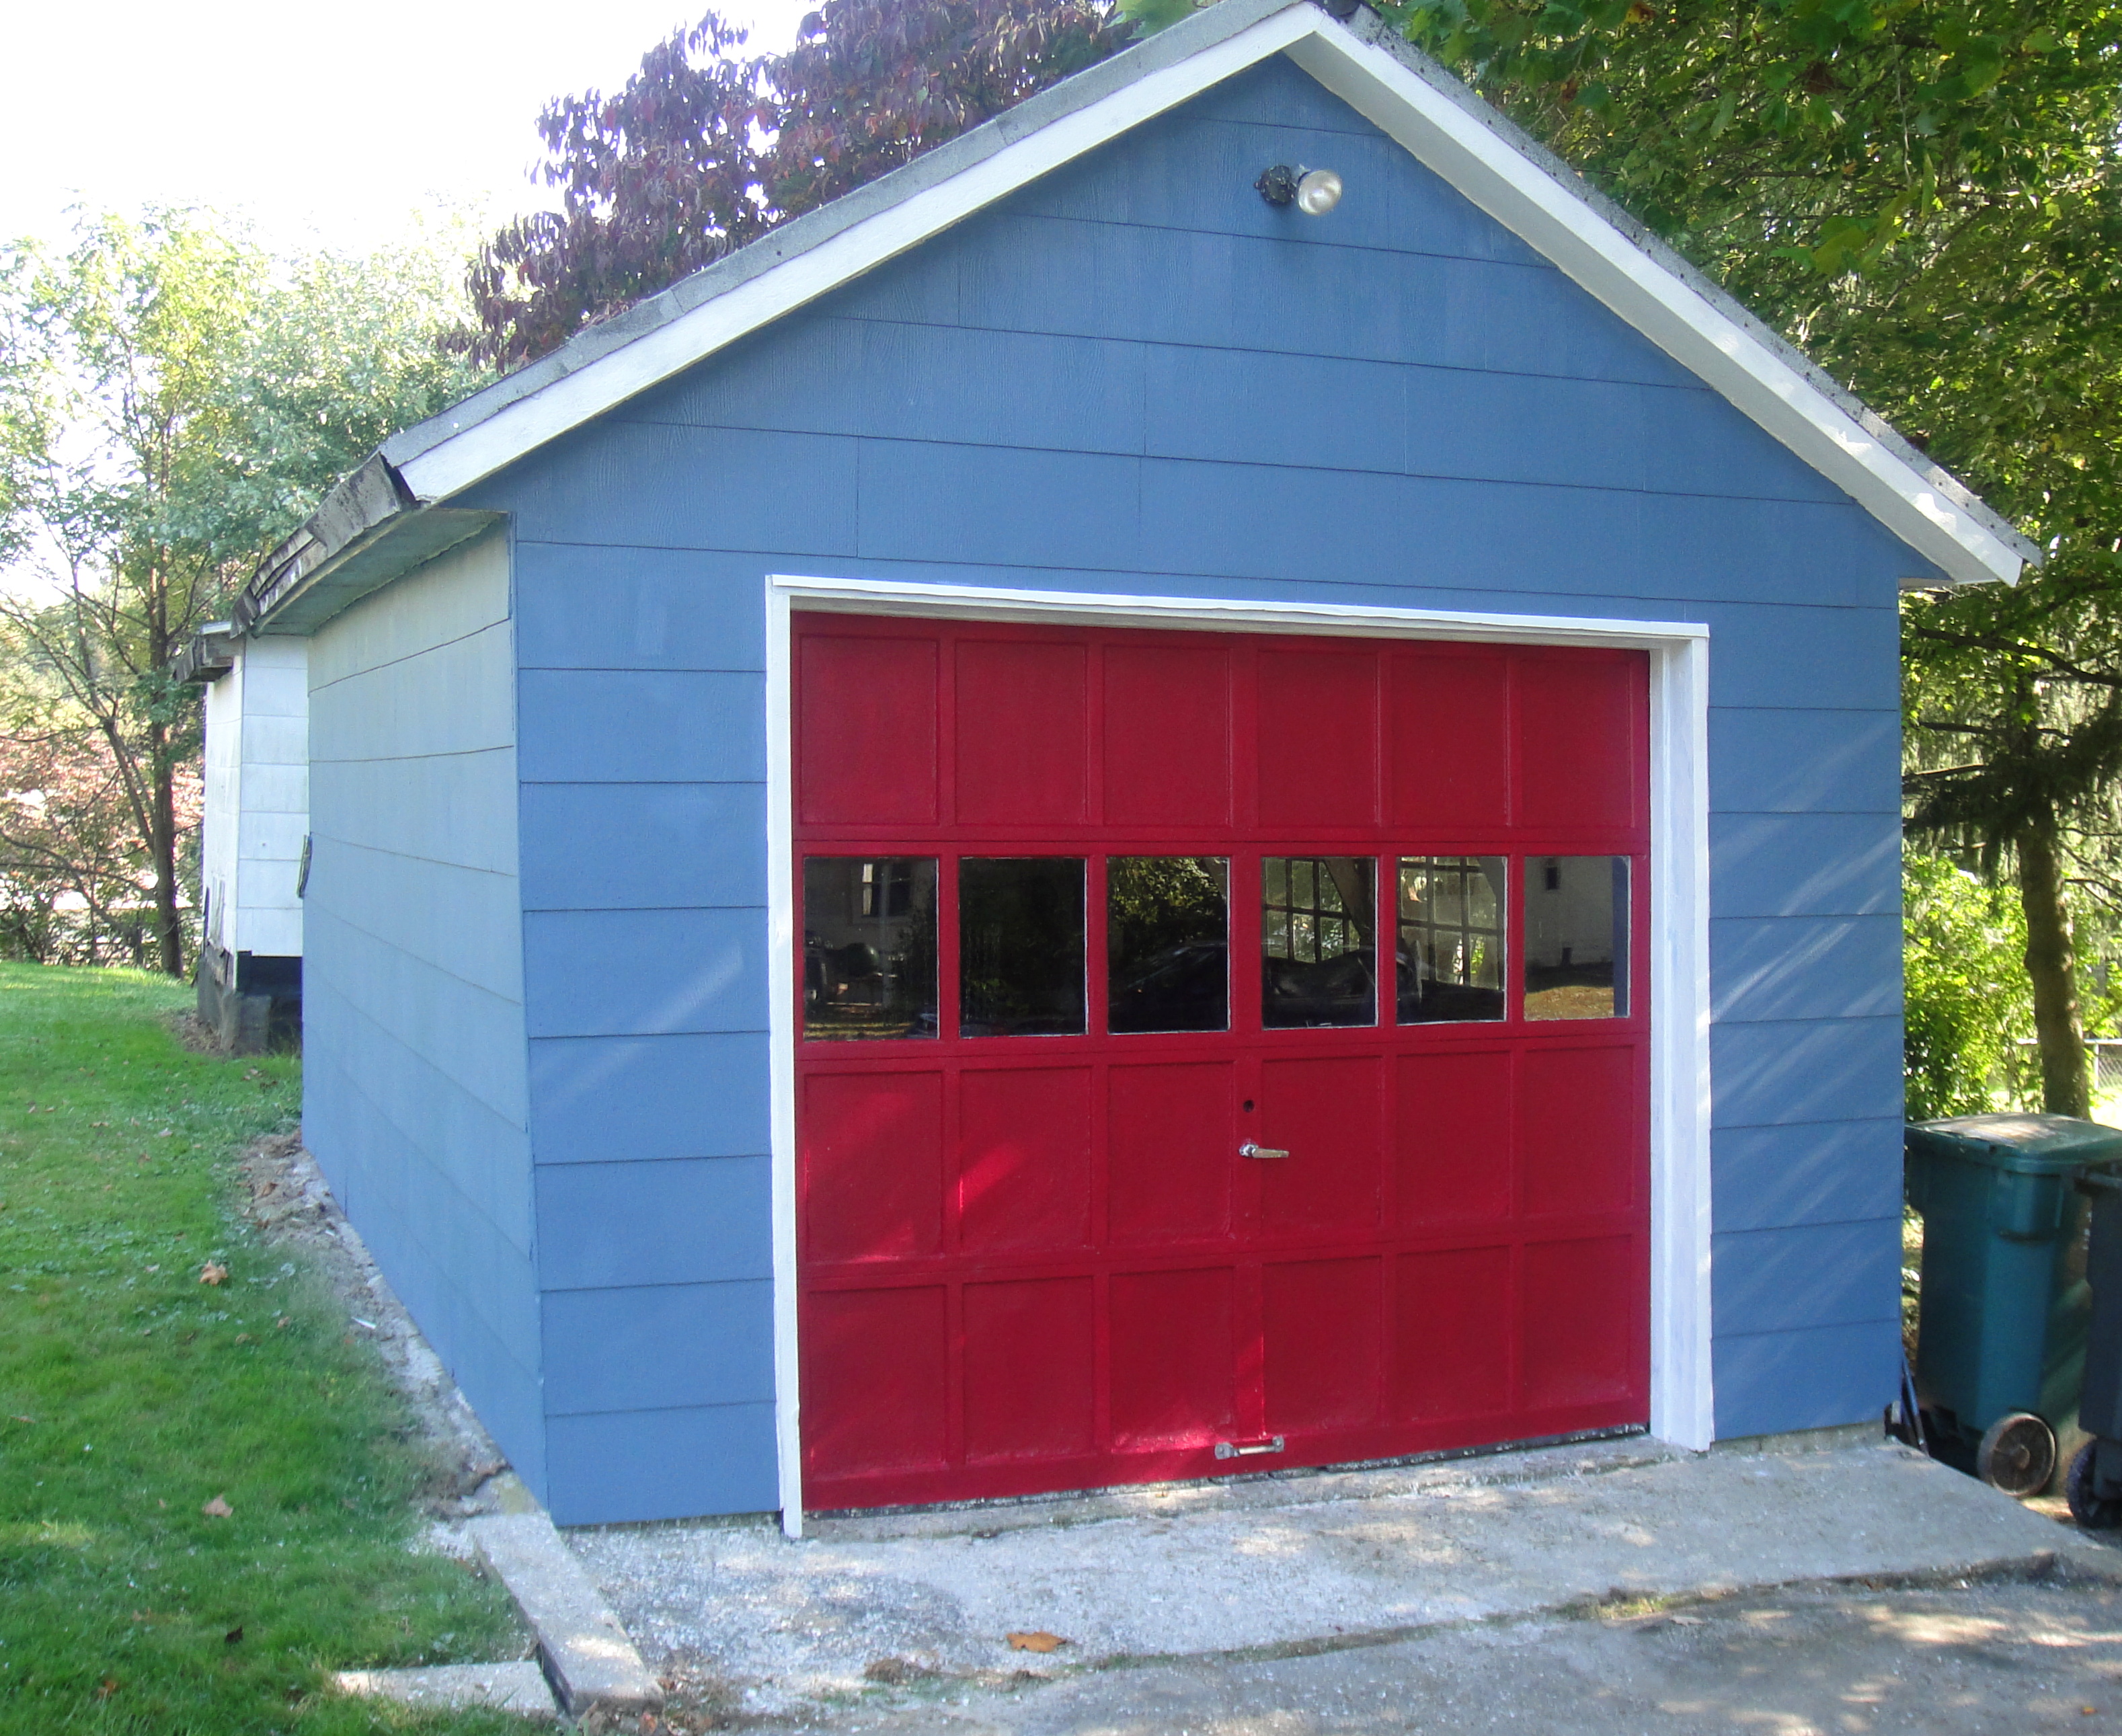
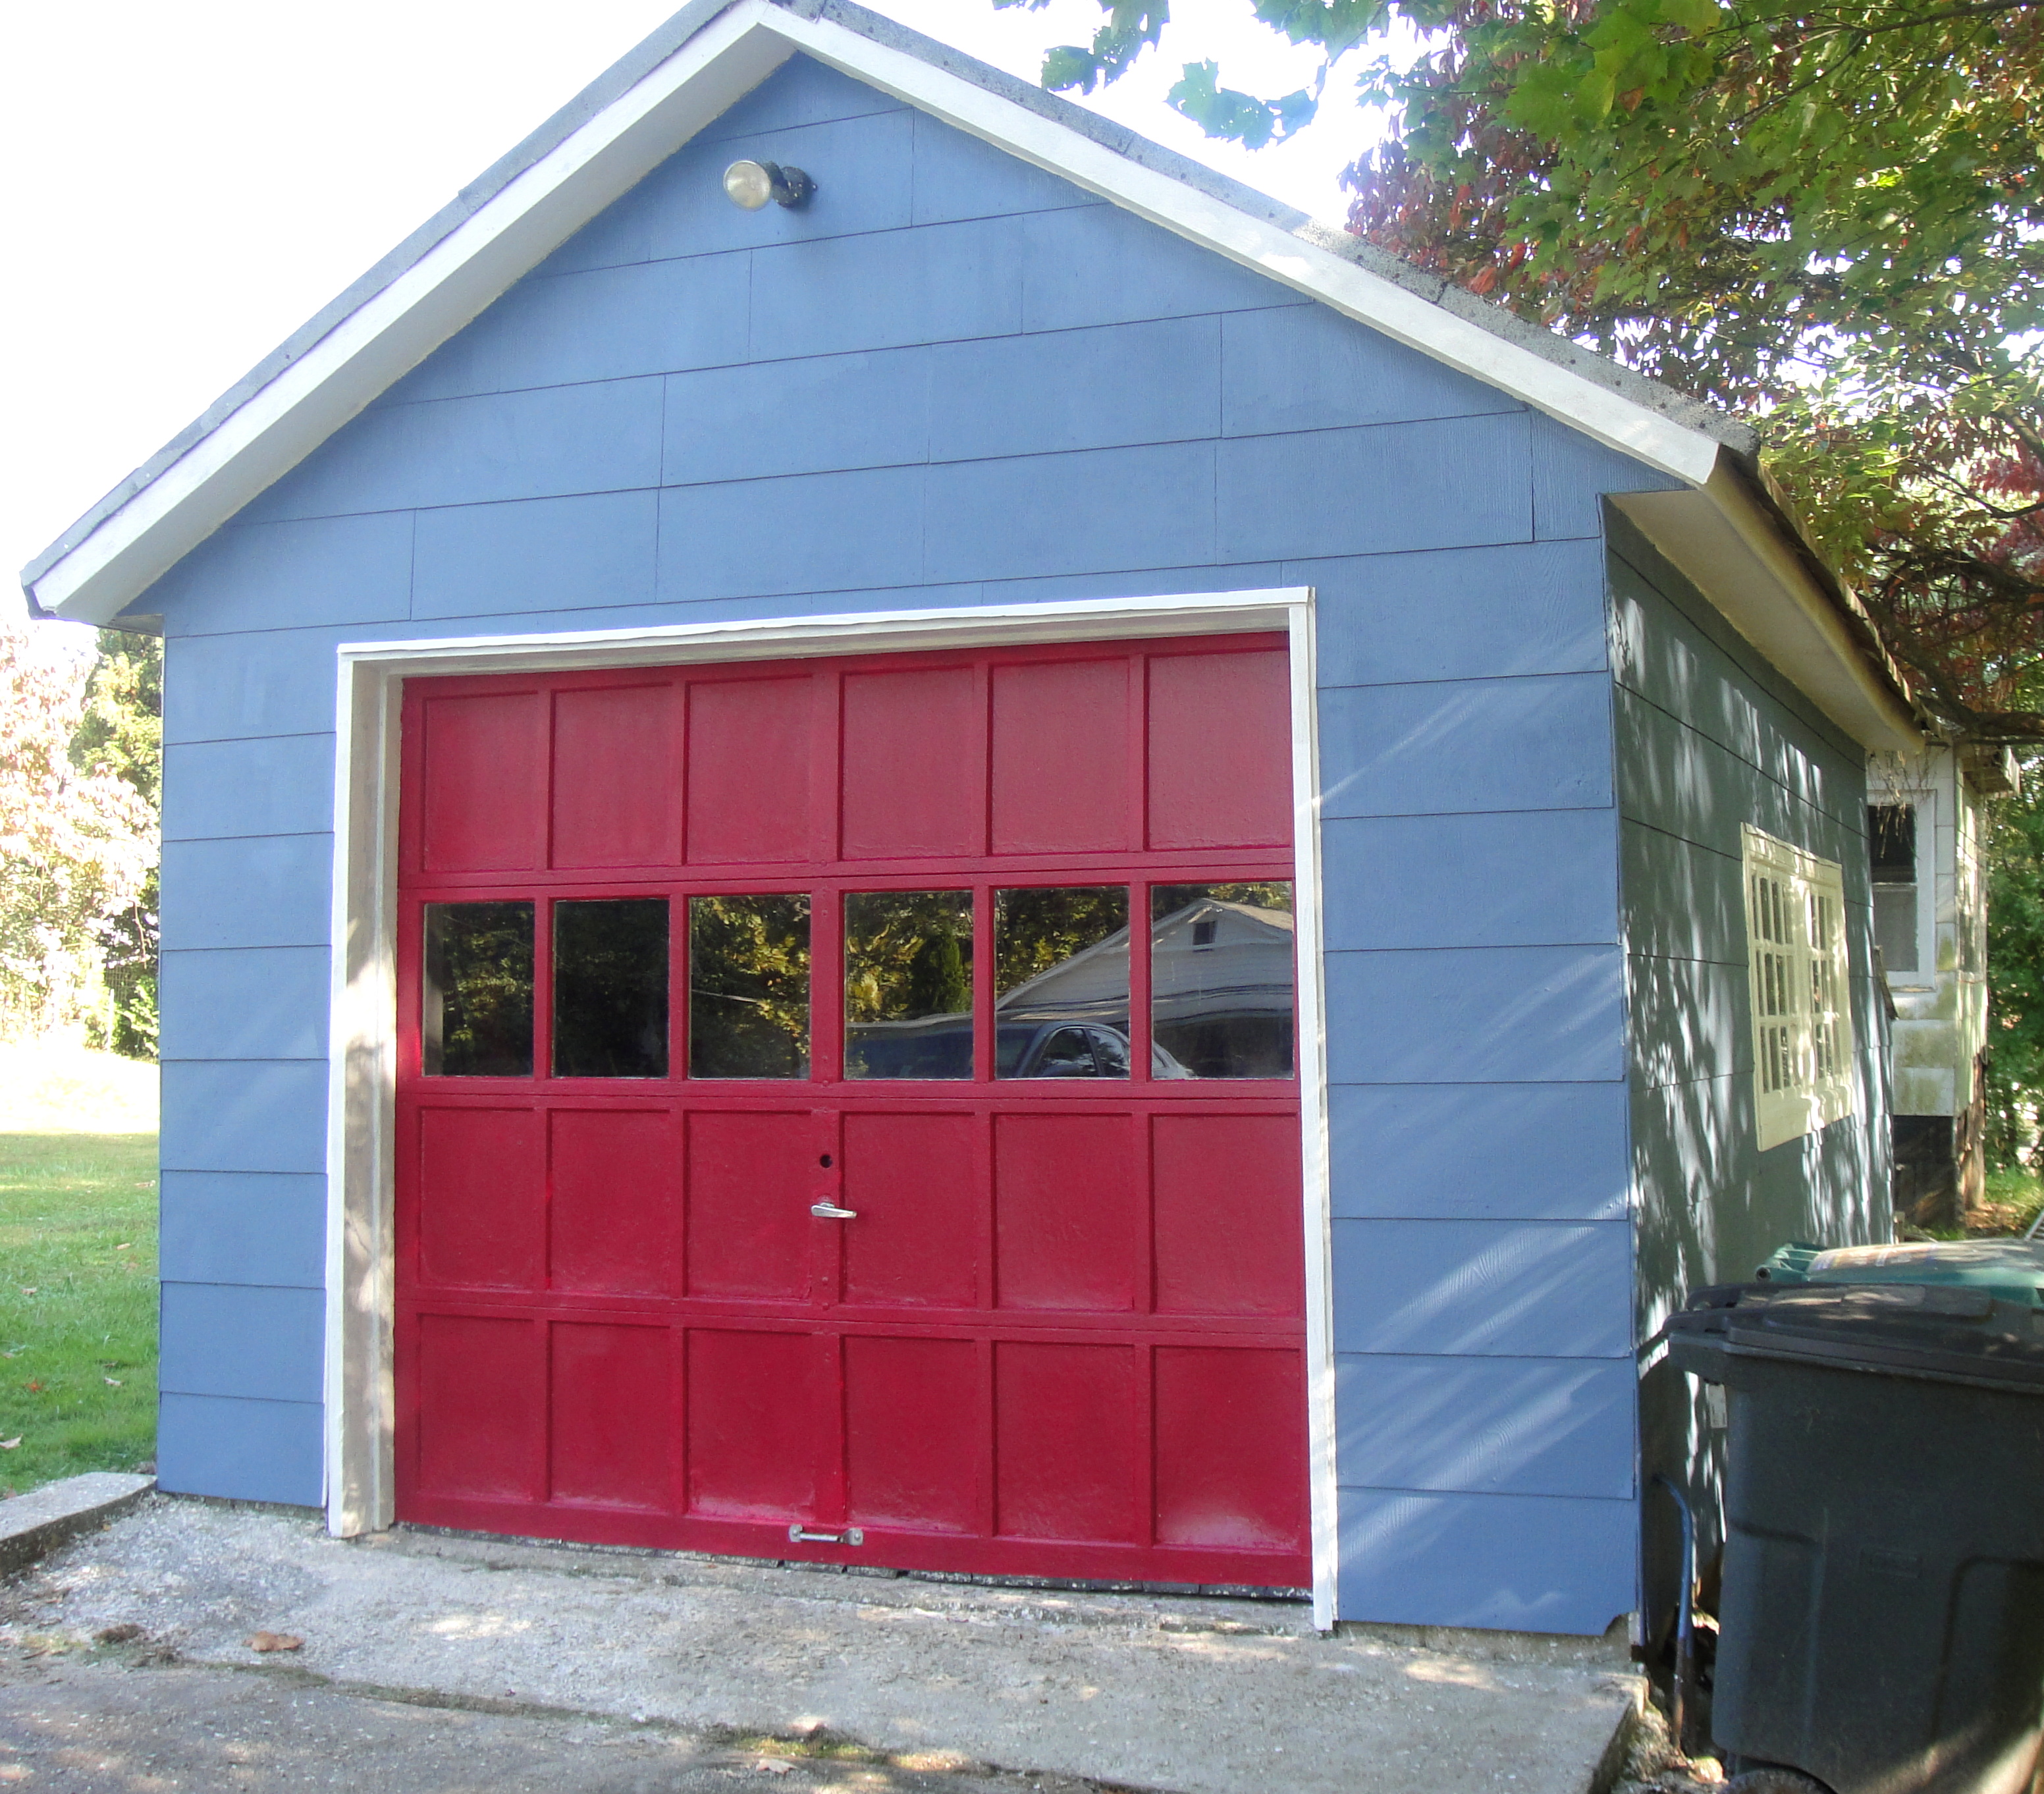
I’m so much happier with how the garage looks now. And, it served as a great preview for how these colors will transfer over to our house.
PS: If you’re curious about that odd little building behind the garage, you can see it here.


Wow, what a transformation, it looks amazinG! I’m especially impressed with your reglazing job.
Hi Ola – Thank you! The concept of glazing really was daunting, but looking back I think I’d rather reglaze 20 windows rather than scrape another soffit. 😛
What an improvement. Love the colour!
Thanks so much! I was so excited to get rid of that dingy old white.