
Halloween Tombstones to DIY for
As the month of October marches on, as do my attempts at inexpensive DIY Halloween decor. And, what front yard is Halloween ready without spooky and pun-filled tombstones? That’s not a rhetorical question, no front yard is complete without these. Here’s how I made these tombstones for $7.

This is definitely an outdoor project, so the first step is to gather your supplies and head outside. Here’s what you’ll need:
- 1 styrofoam cooler
- 1 small saw
- 2 cans of light gray spray paint primer
- 1 permanent marker
- 1 x-acto knife
- 1 pack of shims or a piece of wood
- Some large cardboard boxes or a tarp

Step 1: Saw the cooler at each corner. The cooler was sturdy, so I didn’t have to be too careful.

Once all of the sides are cut, you’ll end up with six potential tombstones.

Step 2: Shape your tombstones. I used a sharpie and made general lines to follow with the saw.
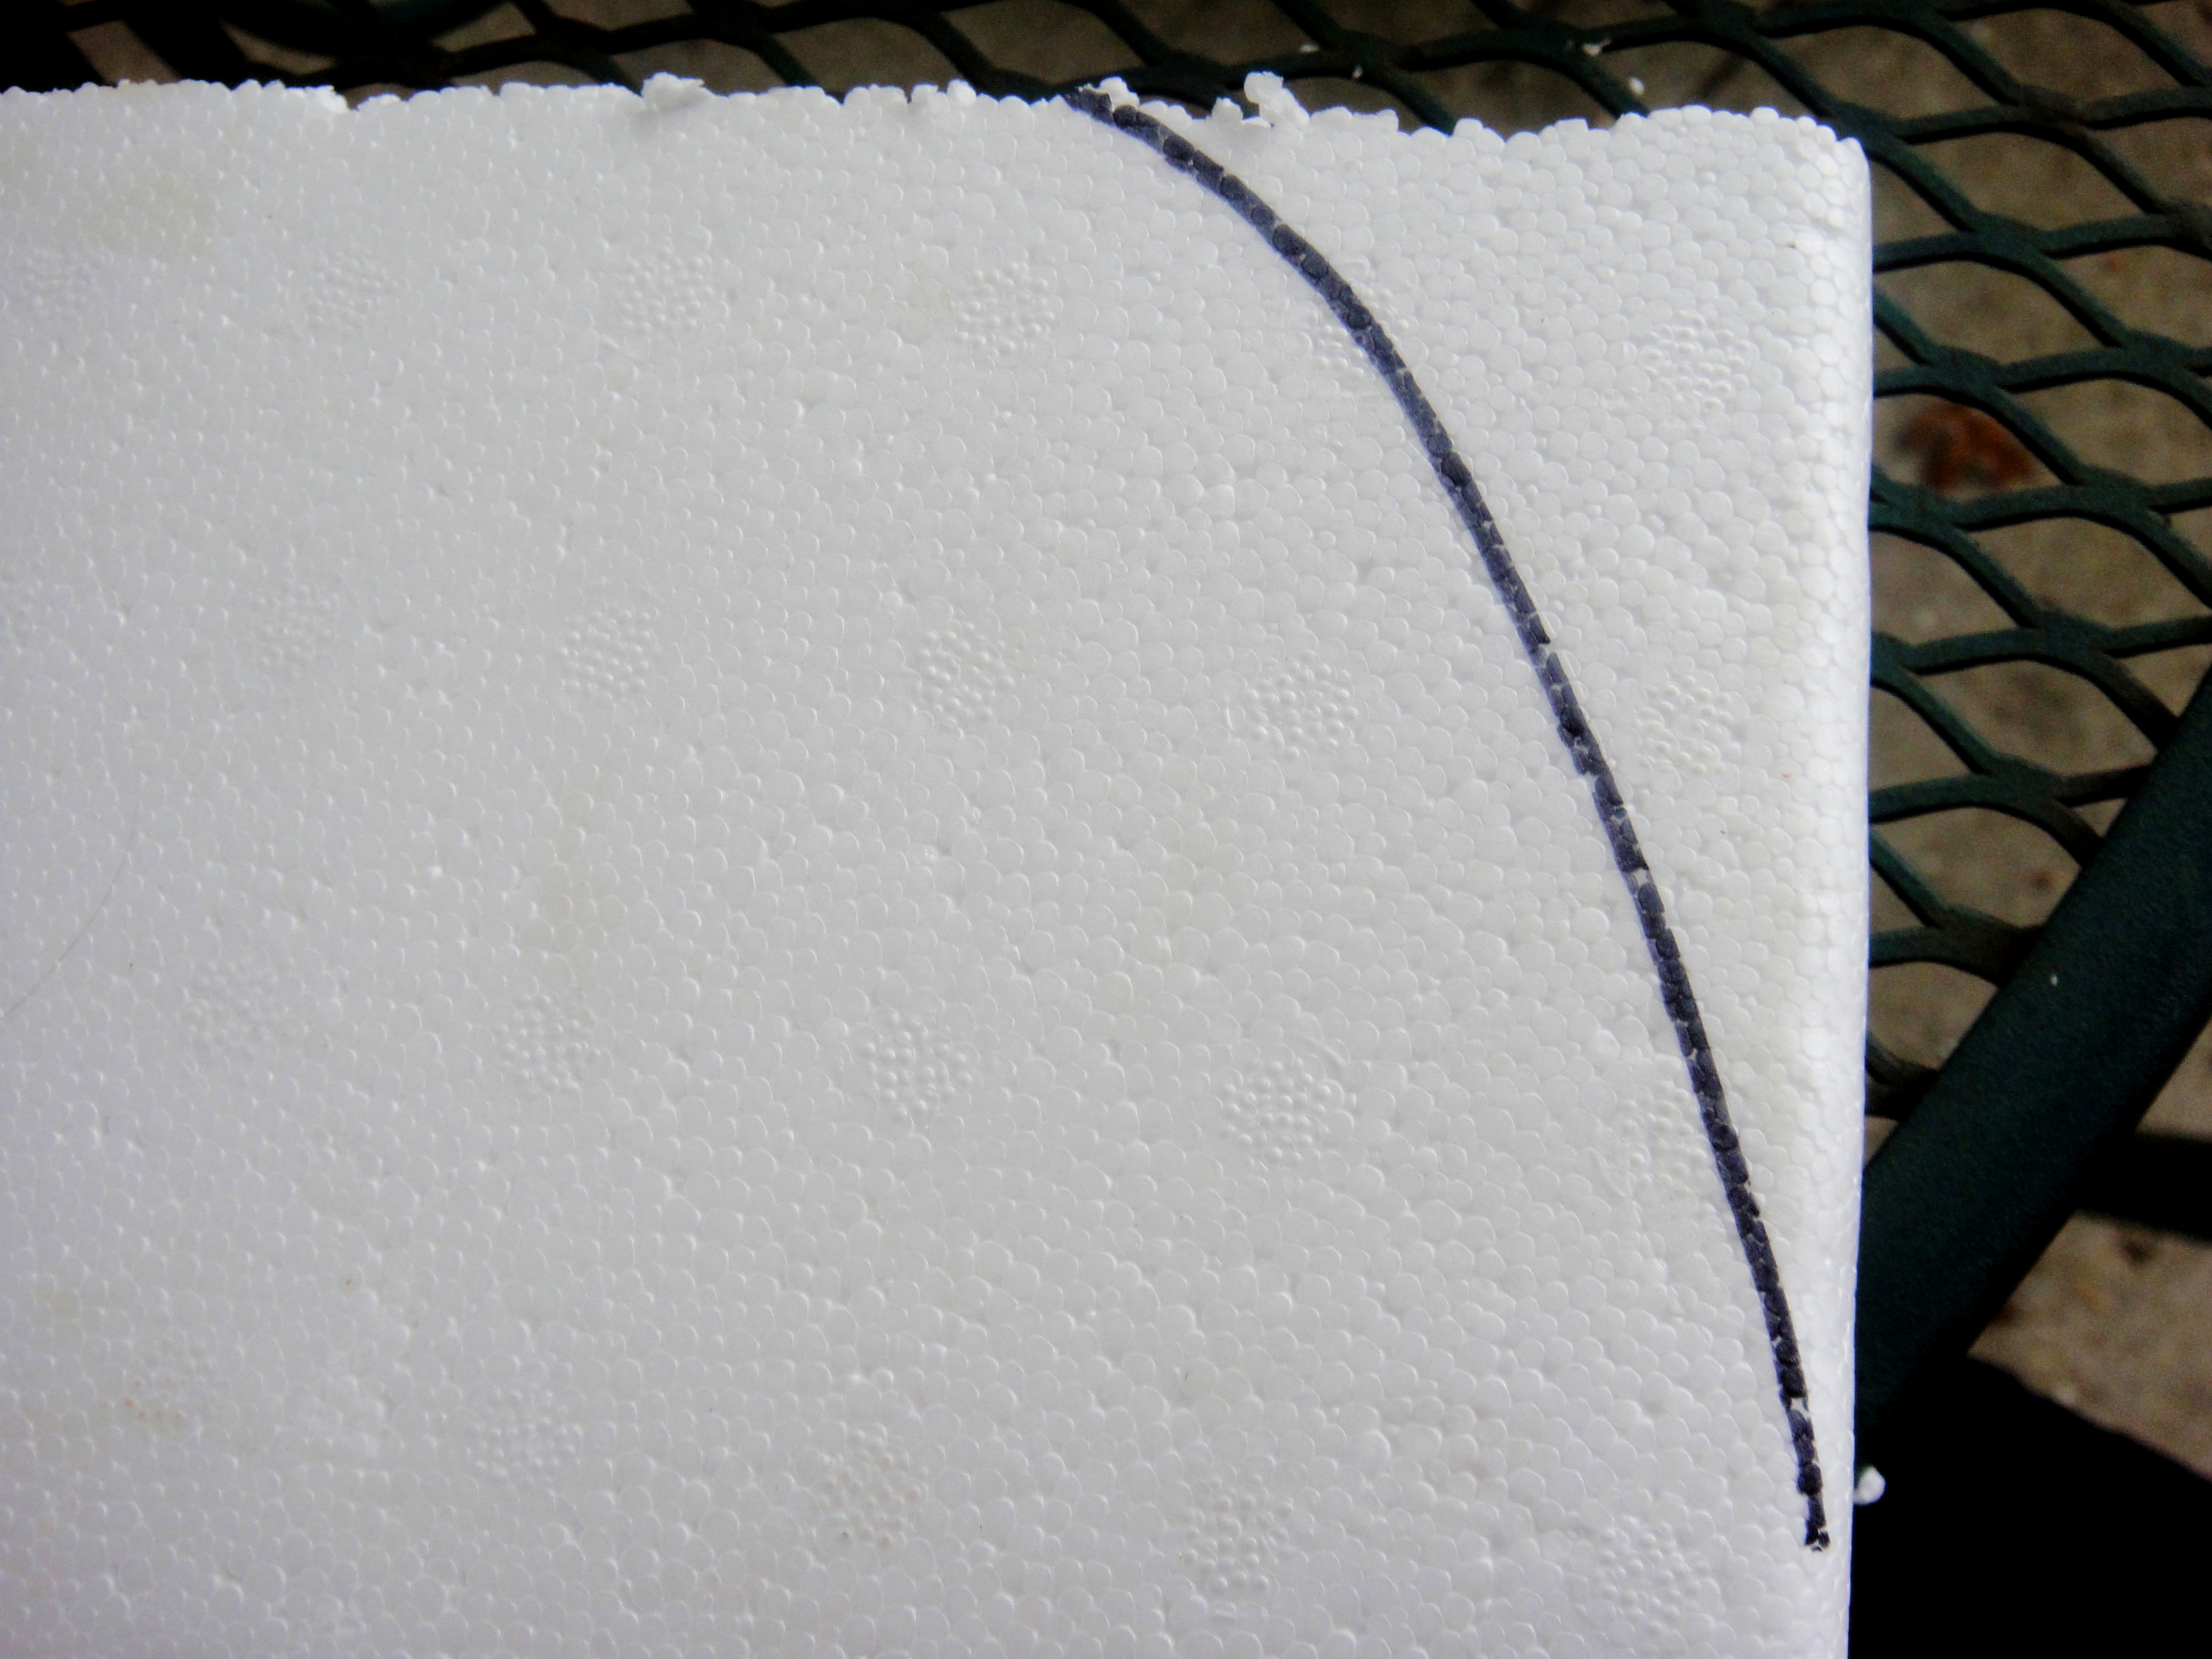
Styrofoam is a rather forgiving medium, so if you don’t follow your lines exactly, it’s alright – just lightly saw the corners to round them.

Step 3: Paint the tombstones. It only takes a thin coat of paint and it dries completely in about 5 minutes.


The cool thing about spray paint on styrofoam is that it eats away at the top layer just a little bit which gives it a really neat weathered stone look.

Step 4: Write out the epitaphs. You can write your text on a big sheet of paper first to make sure that your lettering will fit evenly. Then, just write the text lightly on the stone and go back and fill it in. The sharpie also creates a divot in the styrofoam giving it even more texture.

Step 5: Put them in the ground. I used a metal skewer to dig a space into the bottom of the headstone to insert the wood.

My husband cut pieces of wood in 8″ sections with one end on an angle to make the stakes a little easier to get into the ground. After digging out the hole, you can place your tombstones.
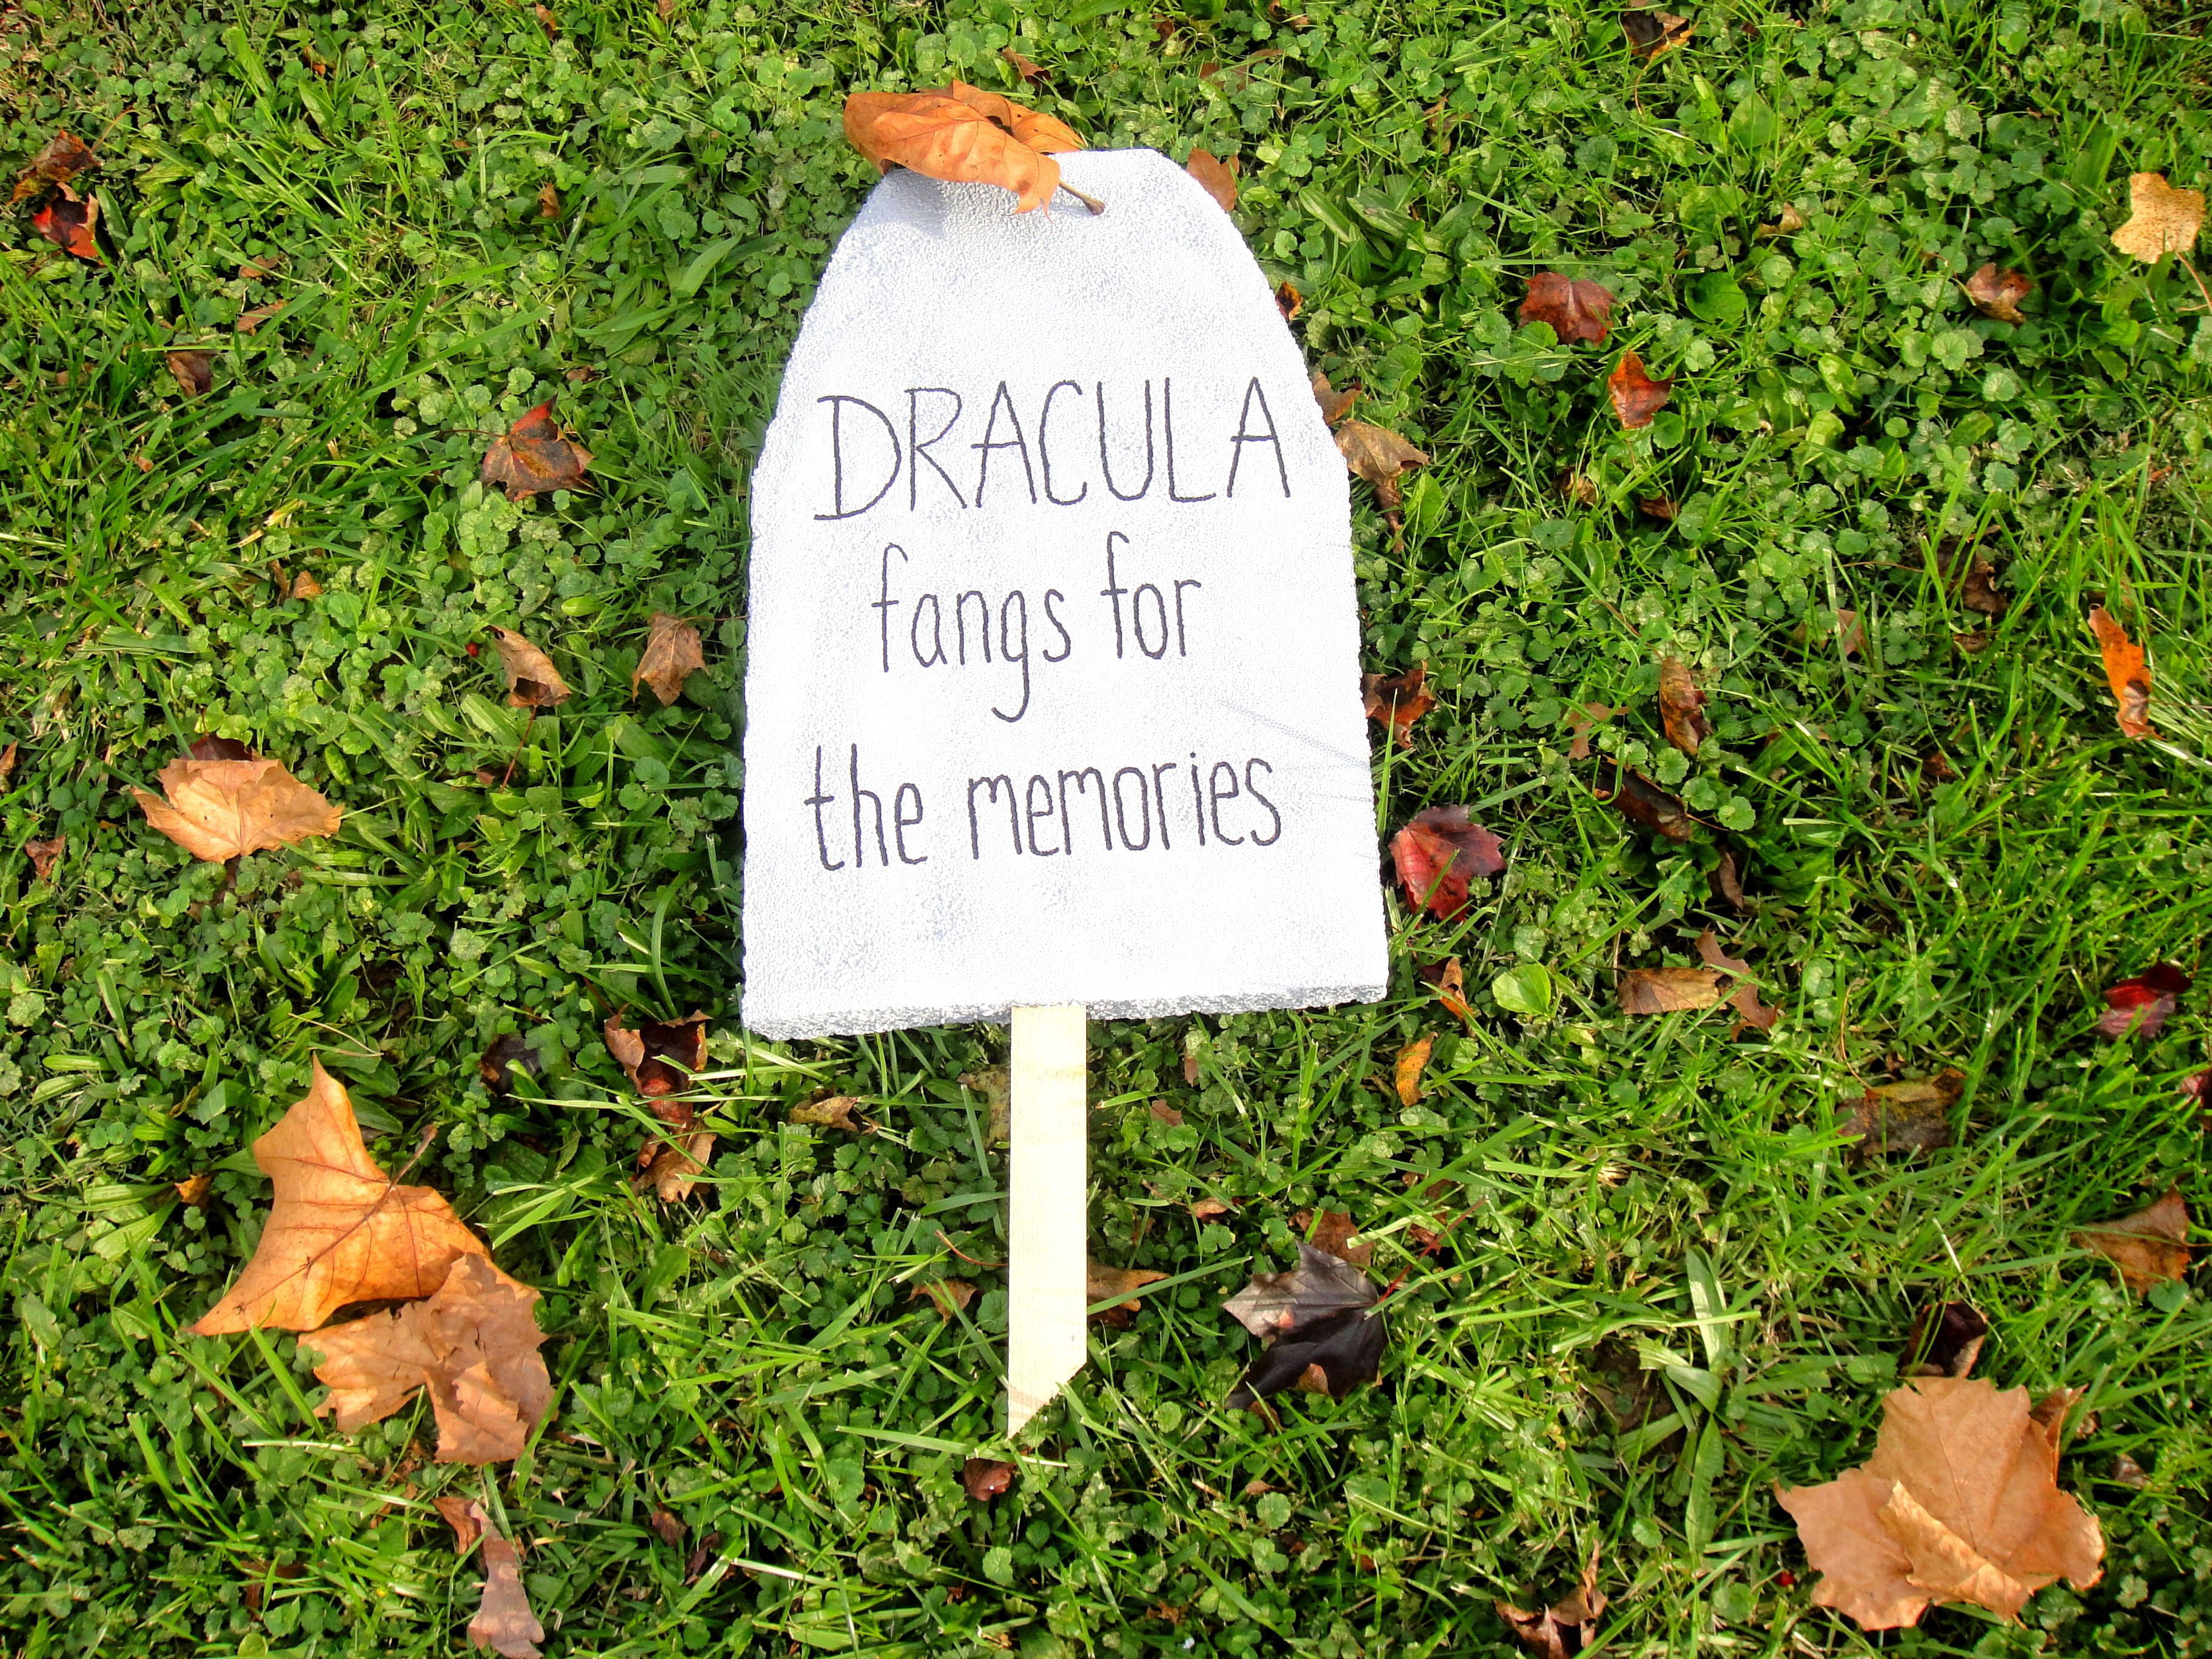
The finished products:


I still have a few tombstones left without epitaphs, so any suggestions would be appreciated!


