
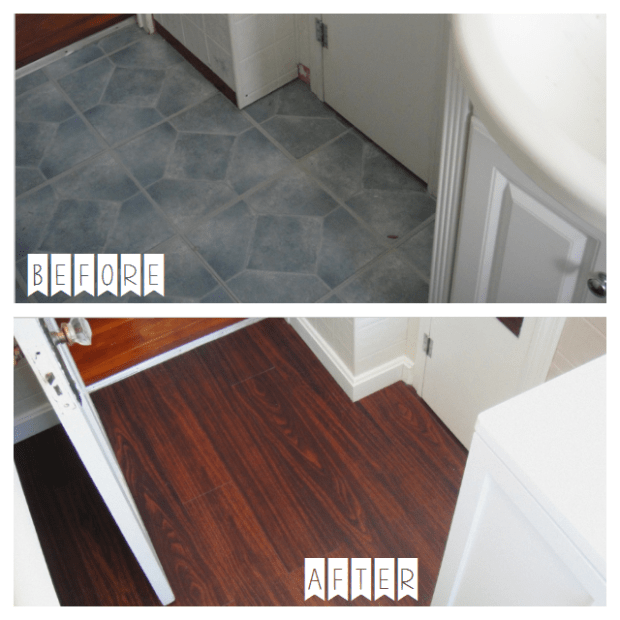
Bathroom Mini-Renovation {Part 5: Flooring}
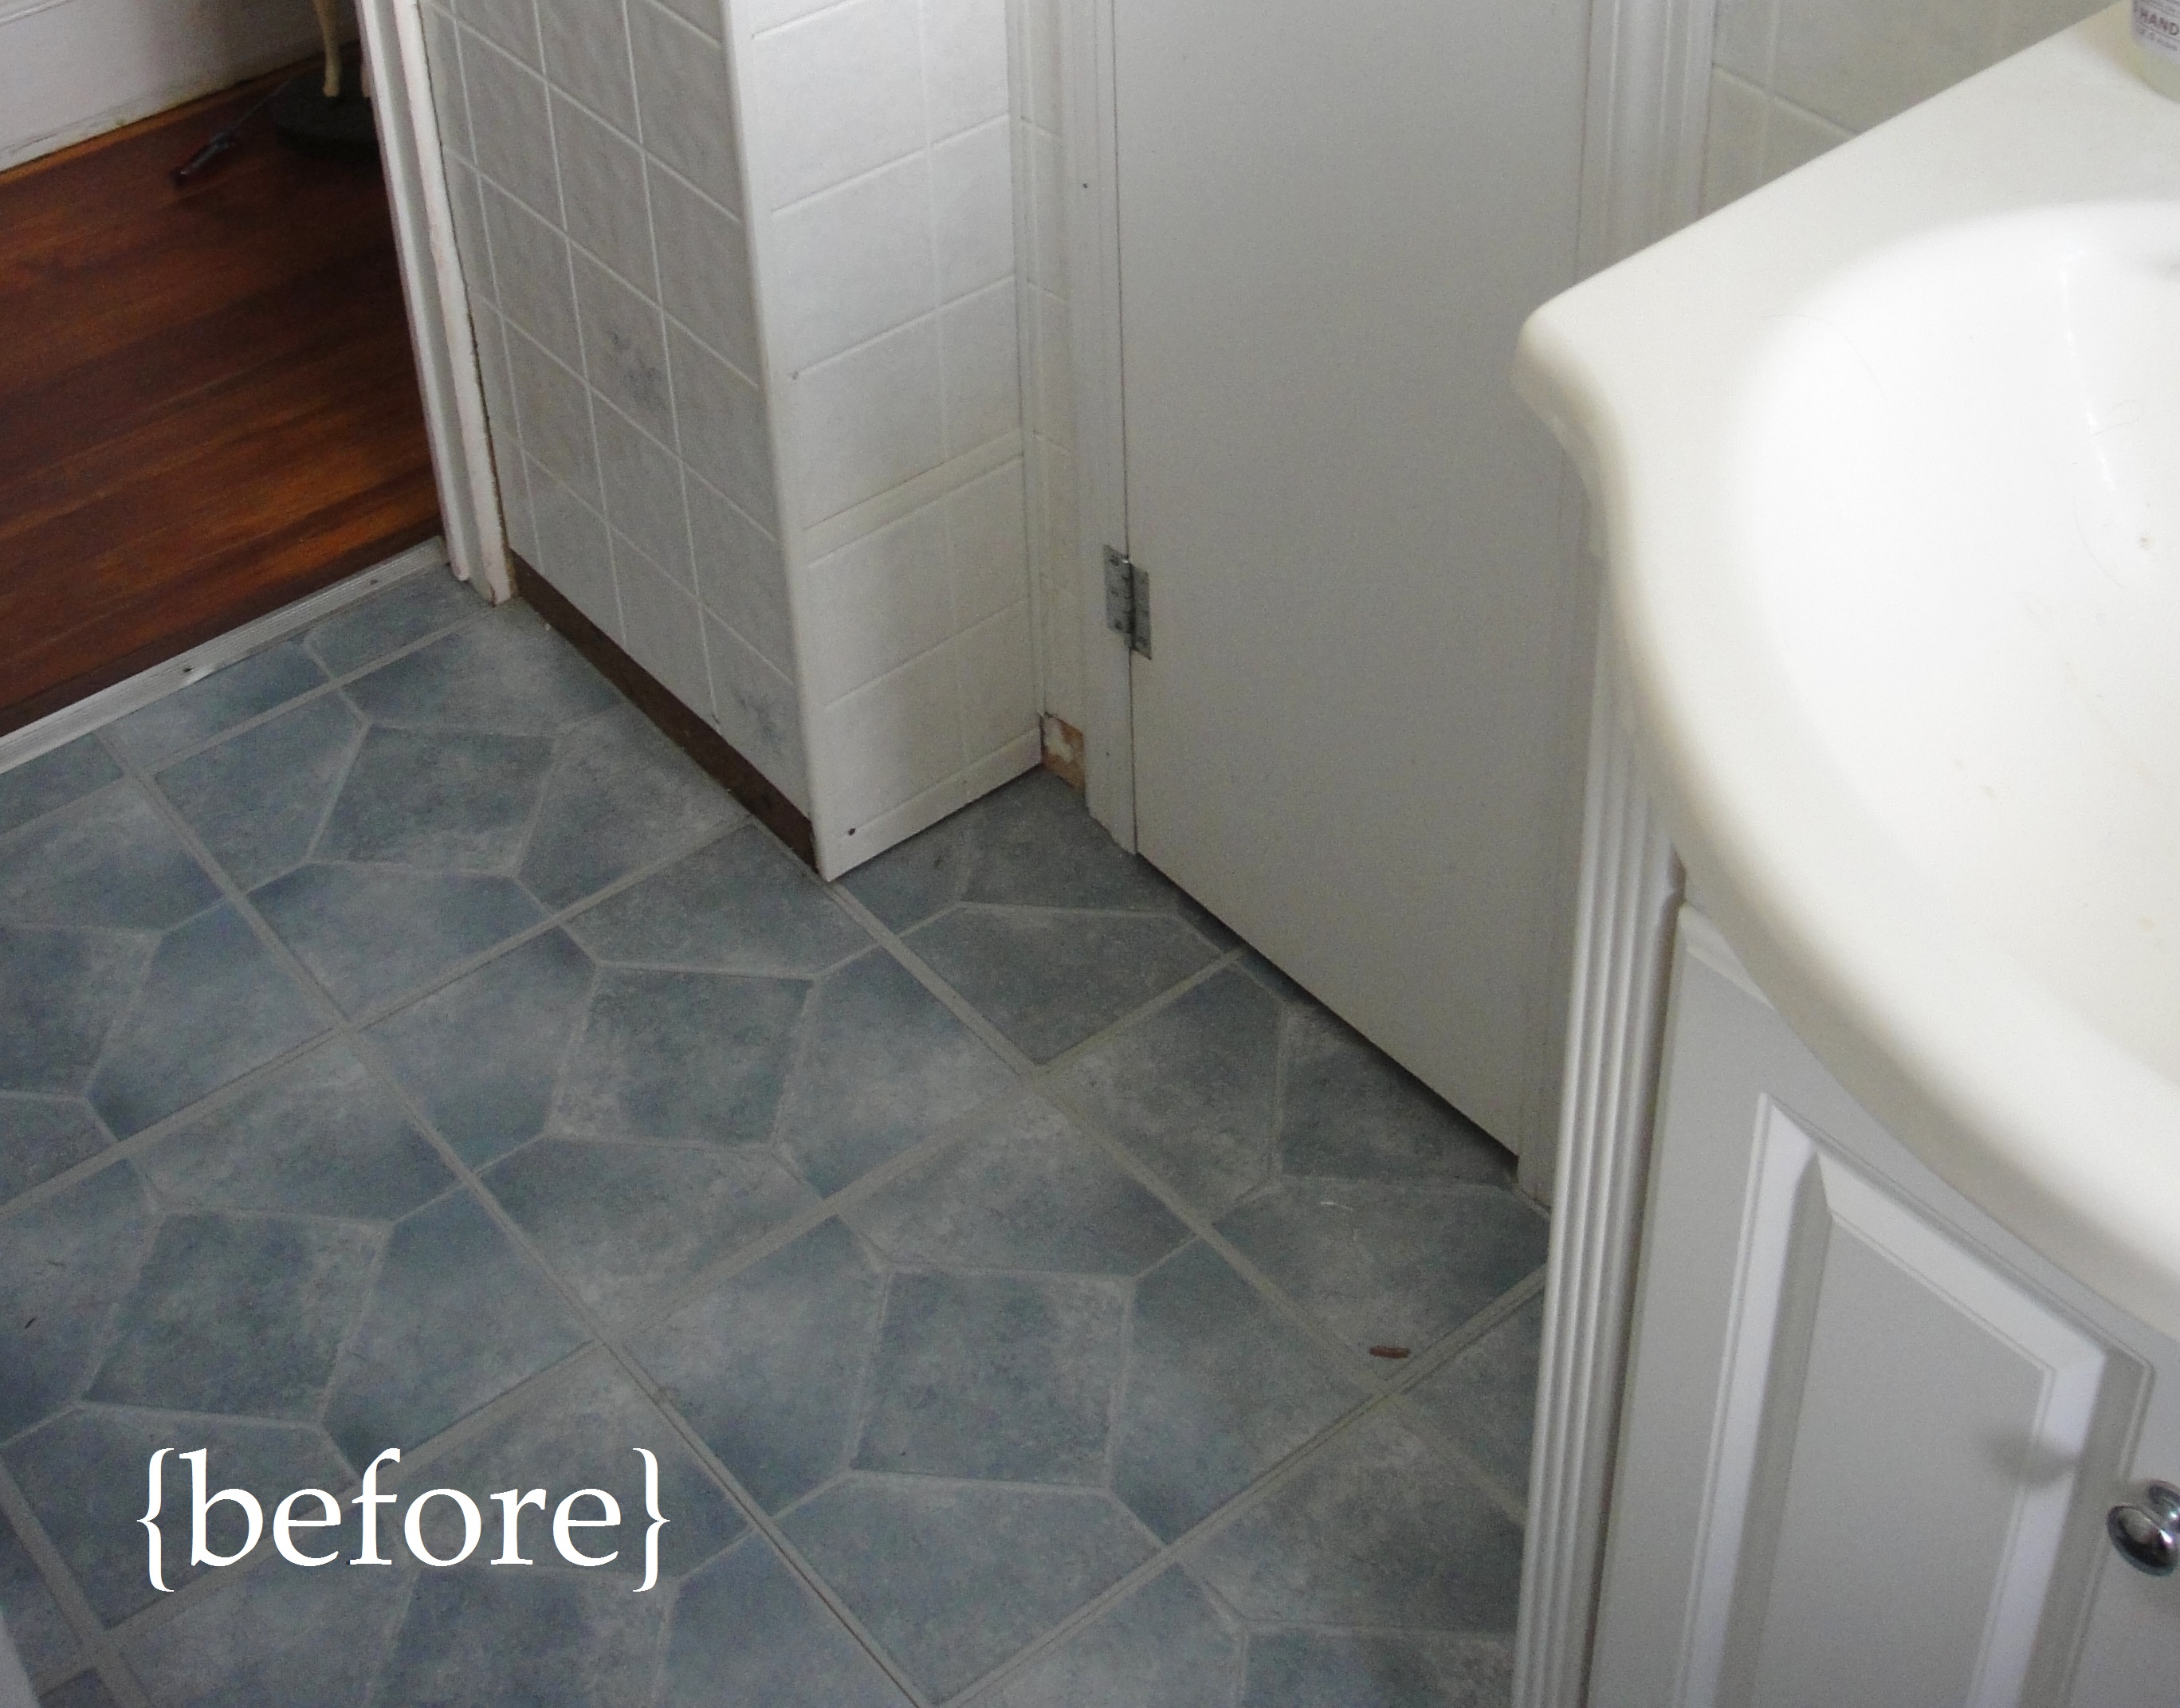
Not too long ago, some of the least attractive linoleum tile I’ve encountered was very loosely affixed to my bathroom floor. (This statement is even more meaningful if you’ve seen my old kitchen flooring.) As you might expect, I was nearly giddy at the thought of ripping it out and replacing it, even if I was going to replace it with more low cost flooring. After researching all available options, I opted for resilient vinyl flooring because it’s durable, comes in a variety of styles, and is super easy to install. Best of all, it was $58 for the whole bathroom or $1.60/square foot. Here’s how we did it:
What you’ll need:
- Your new flooring. I got mine from Lumber Liquidators.
- Straightedge knife
- Ruler
- Pencil
- Measuring tape
- A surface to cut your flooring strips, like a self-healing mat.
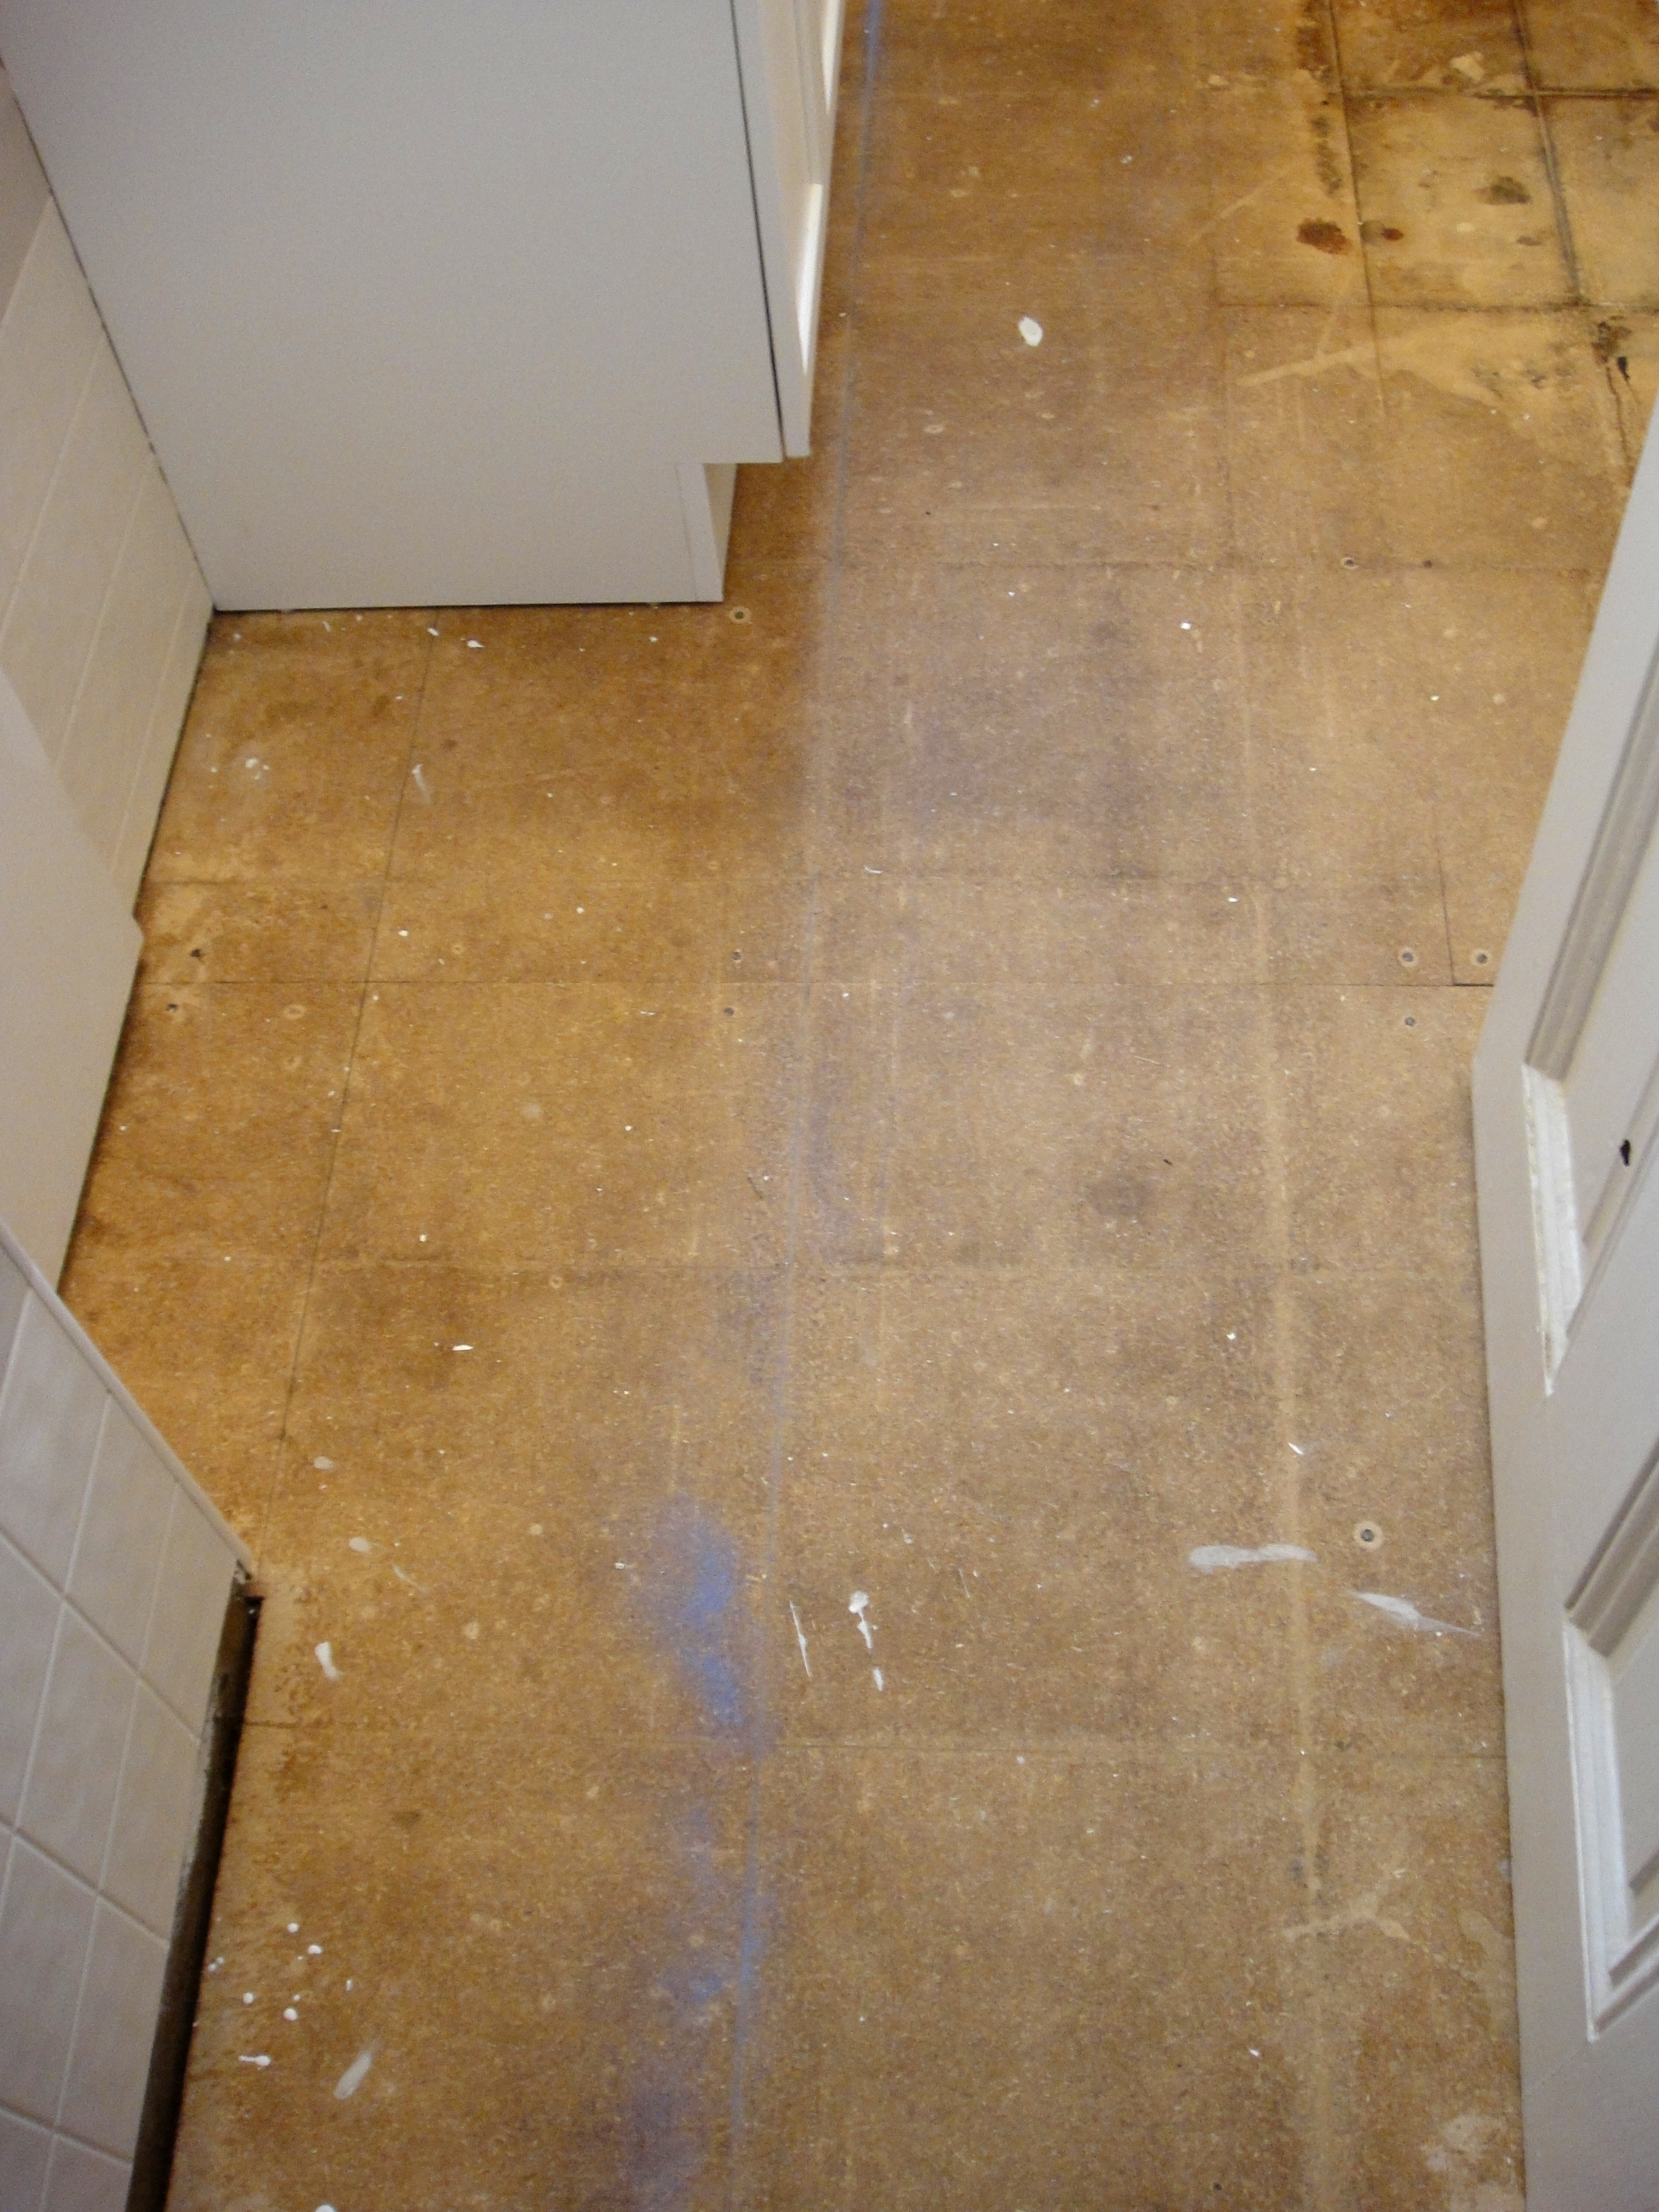
As I alluded to in the beginning of this post, removing the old flooring was surprisingly easy. The tiles peeled up with almost no effort. In the rare instance that a tile was stuck to the sub-floor, I used a paint scraper to peel it off. After the tiles were removed, I mopped the floor with very hot water a few times to make sure the surface was smooth and free from any leftover adhesive.
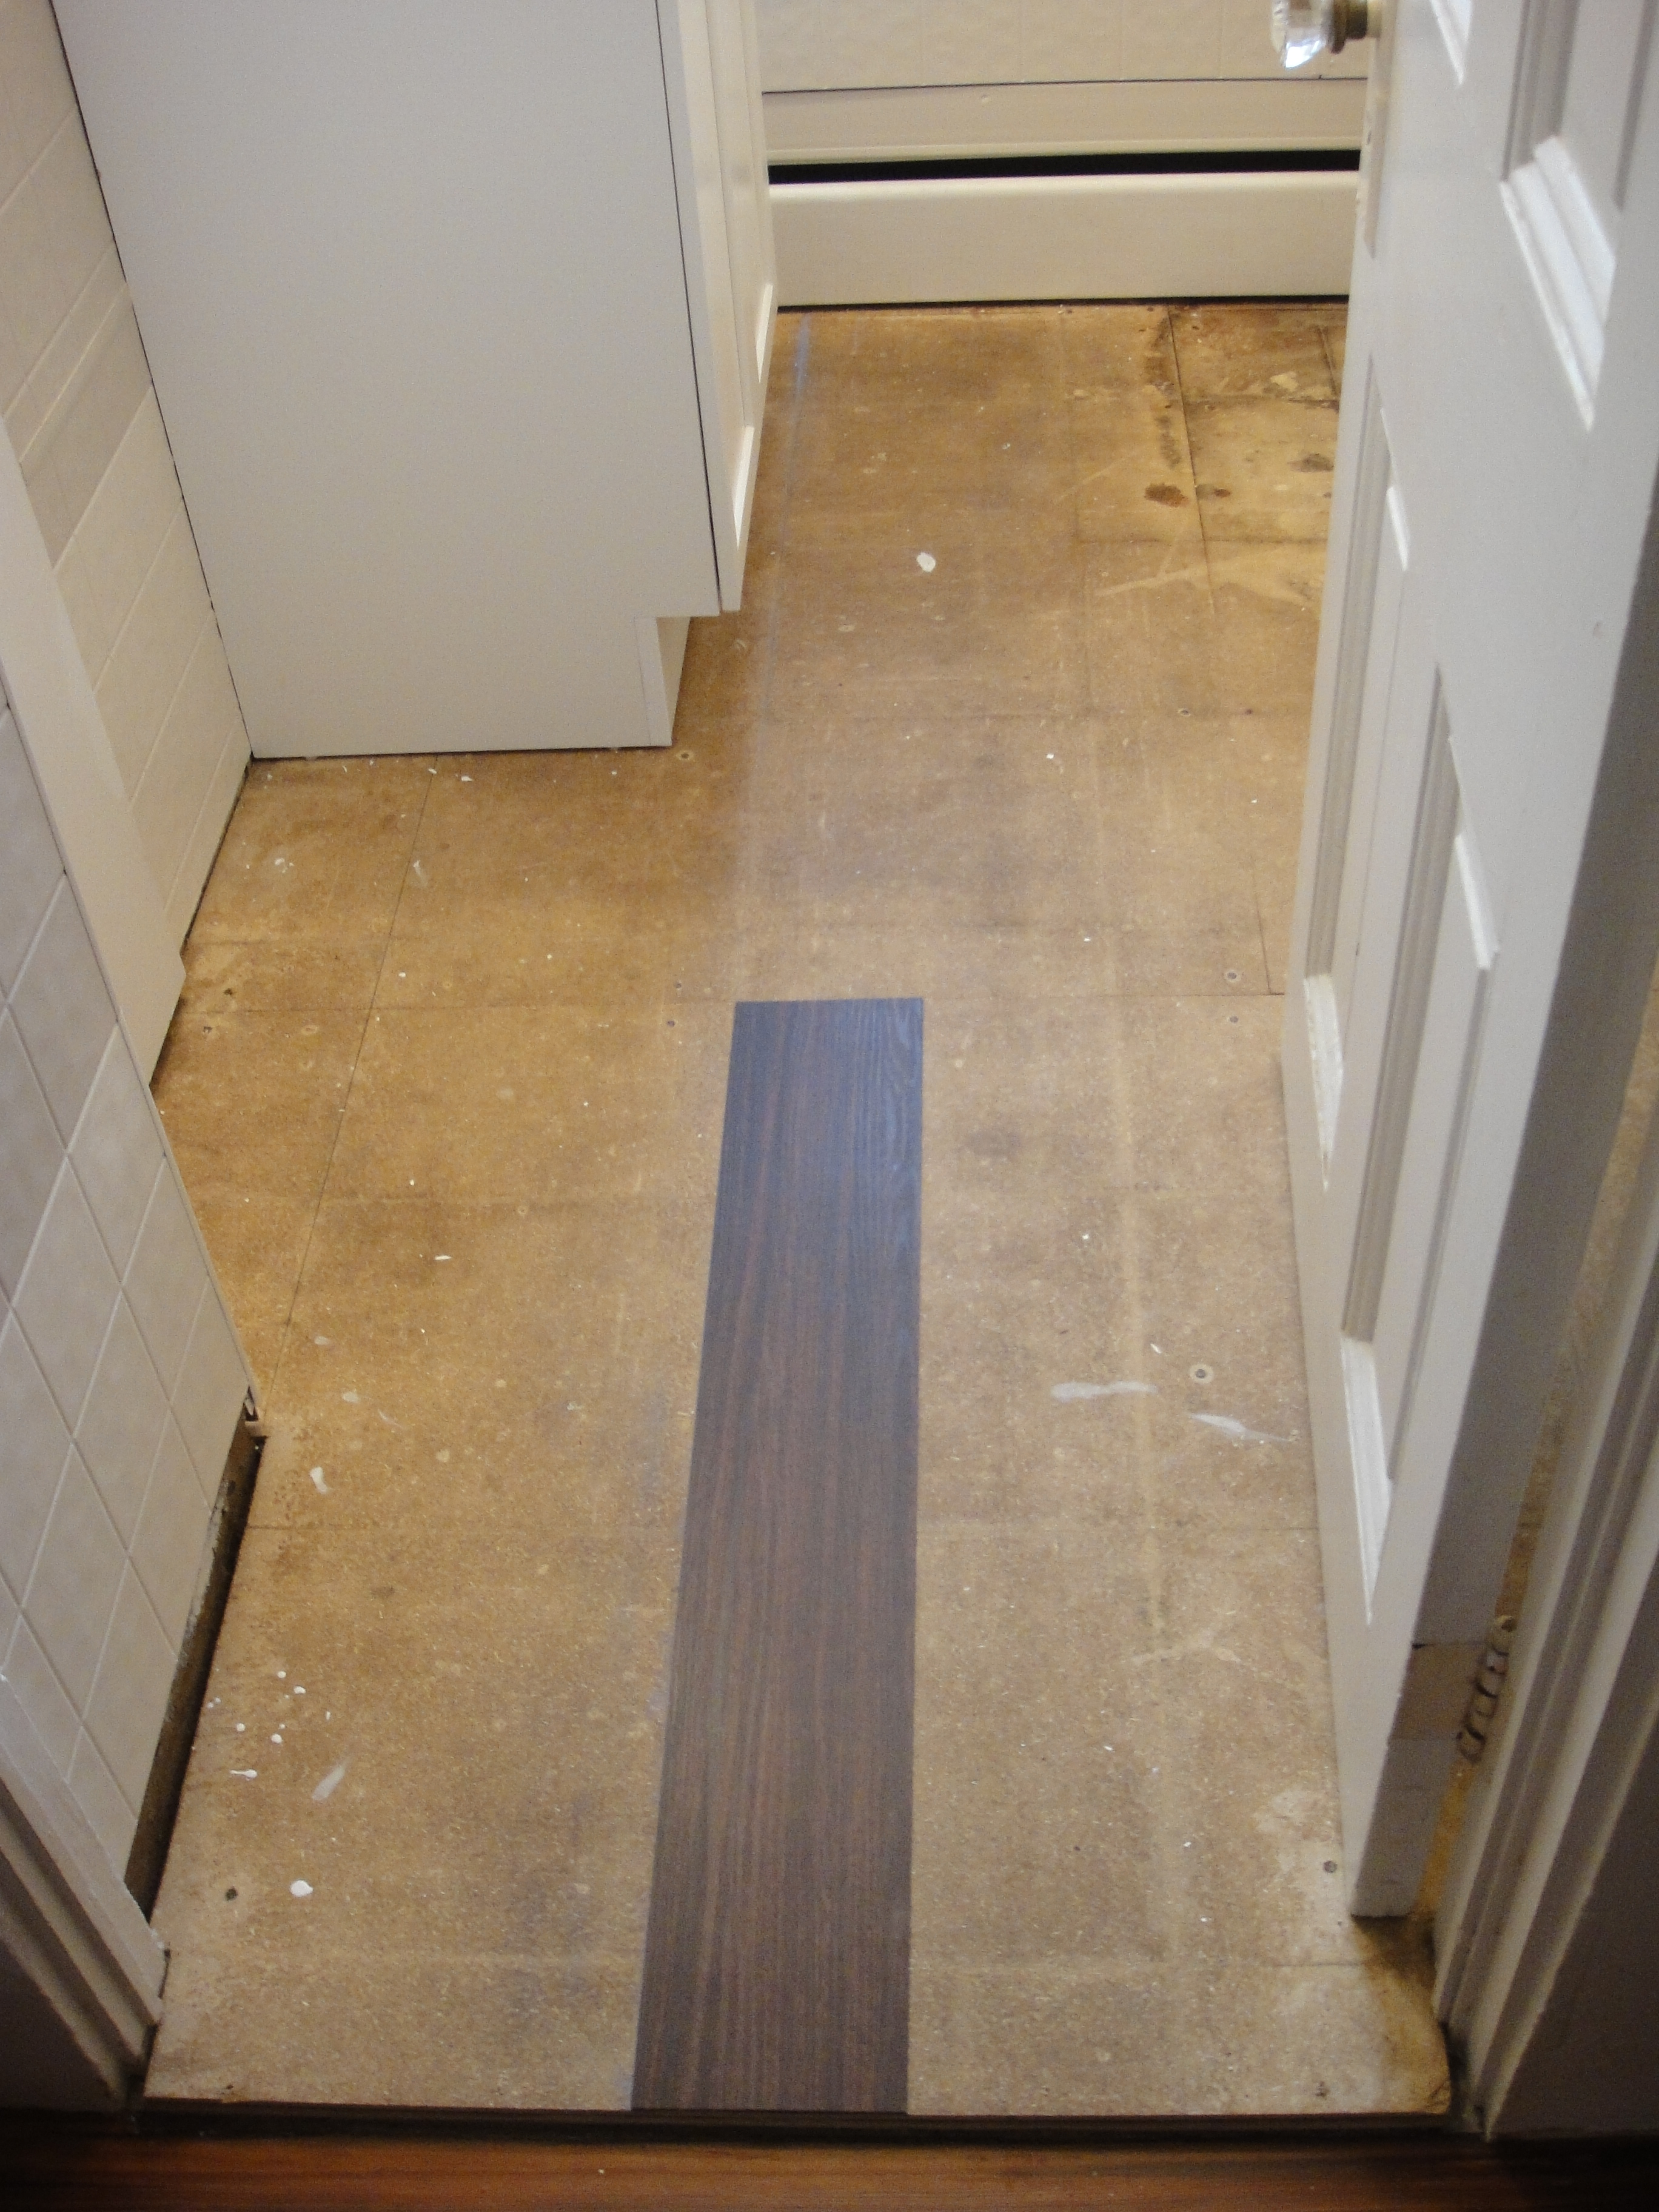
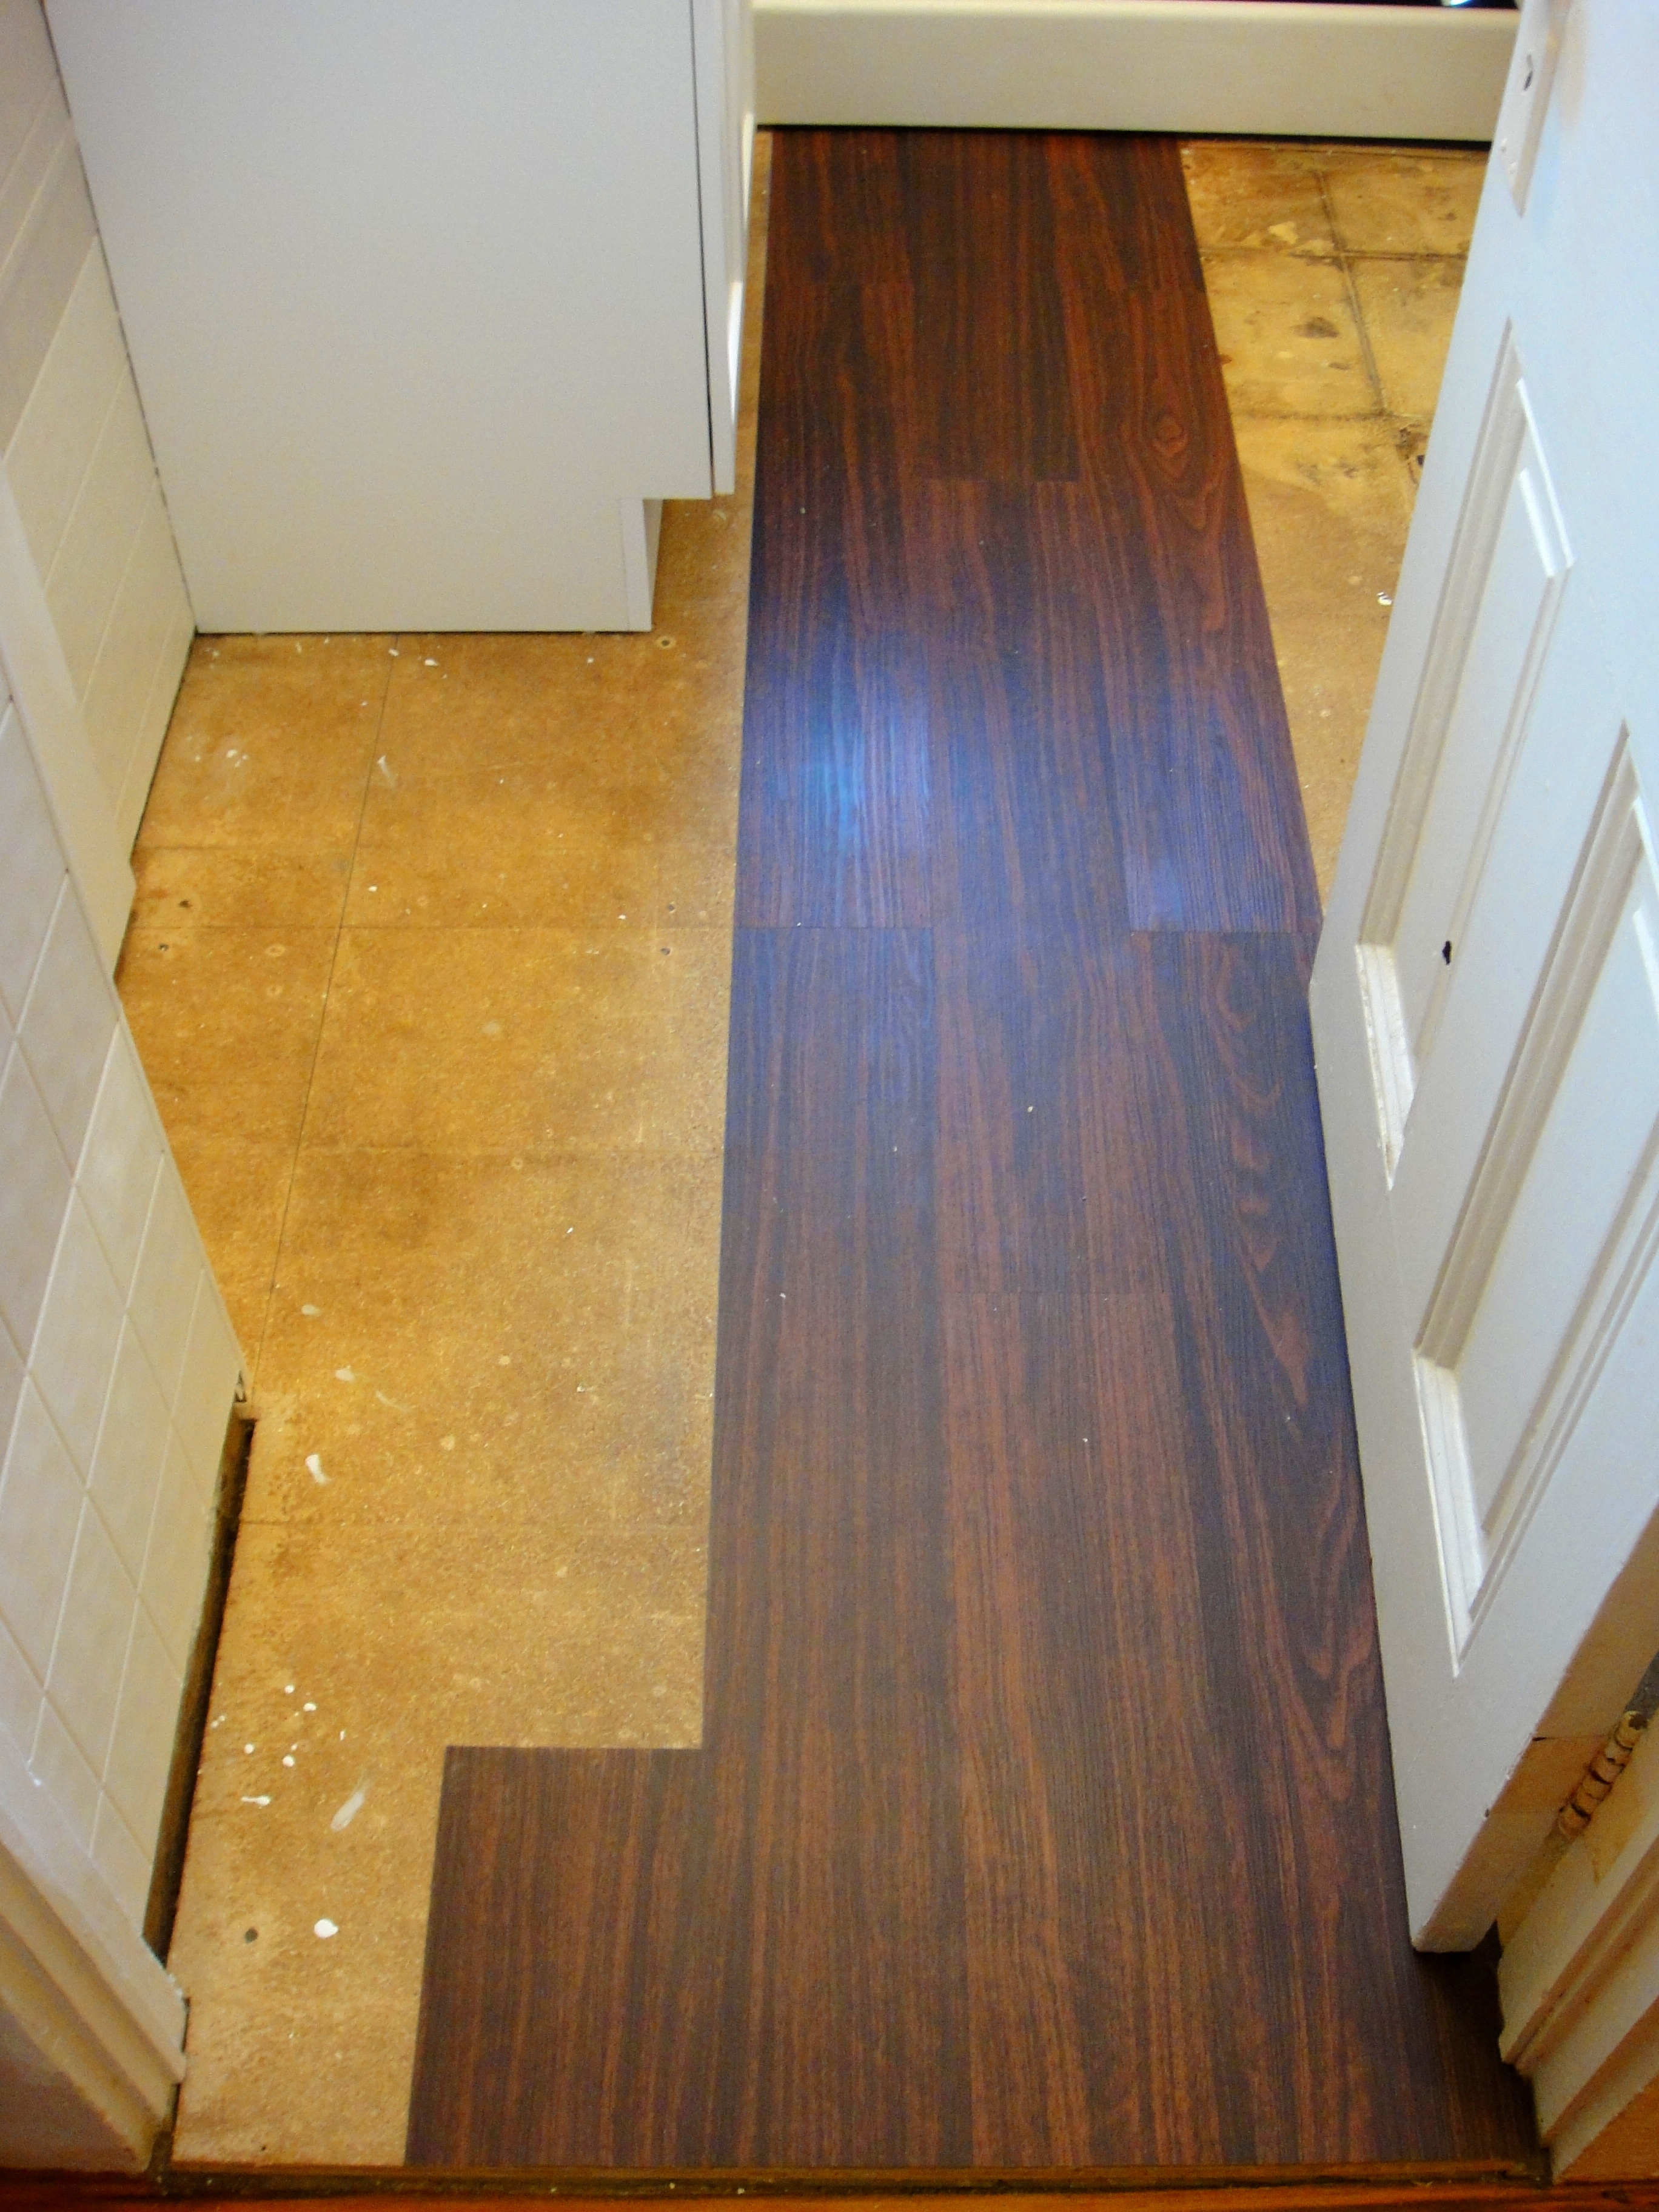
 With a clean and dry sub-floor, we were ready to install the vinyl flooring. We laid out several pieces to make sure we started in the right place. It helps to start in the center and work your way out.
Once the first piece was down, finishing the center of the floor was pretty straight forward. Completing one vertical row at time, we dry fitted each piece before peeling off the adhesive backing and sticking it to the floor.
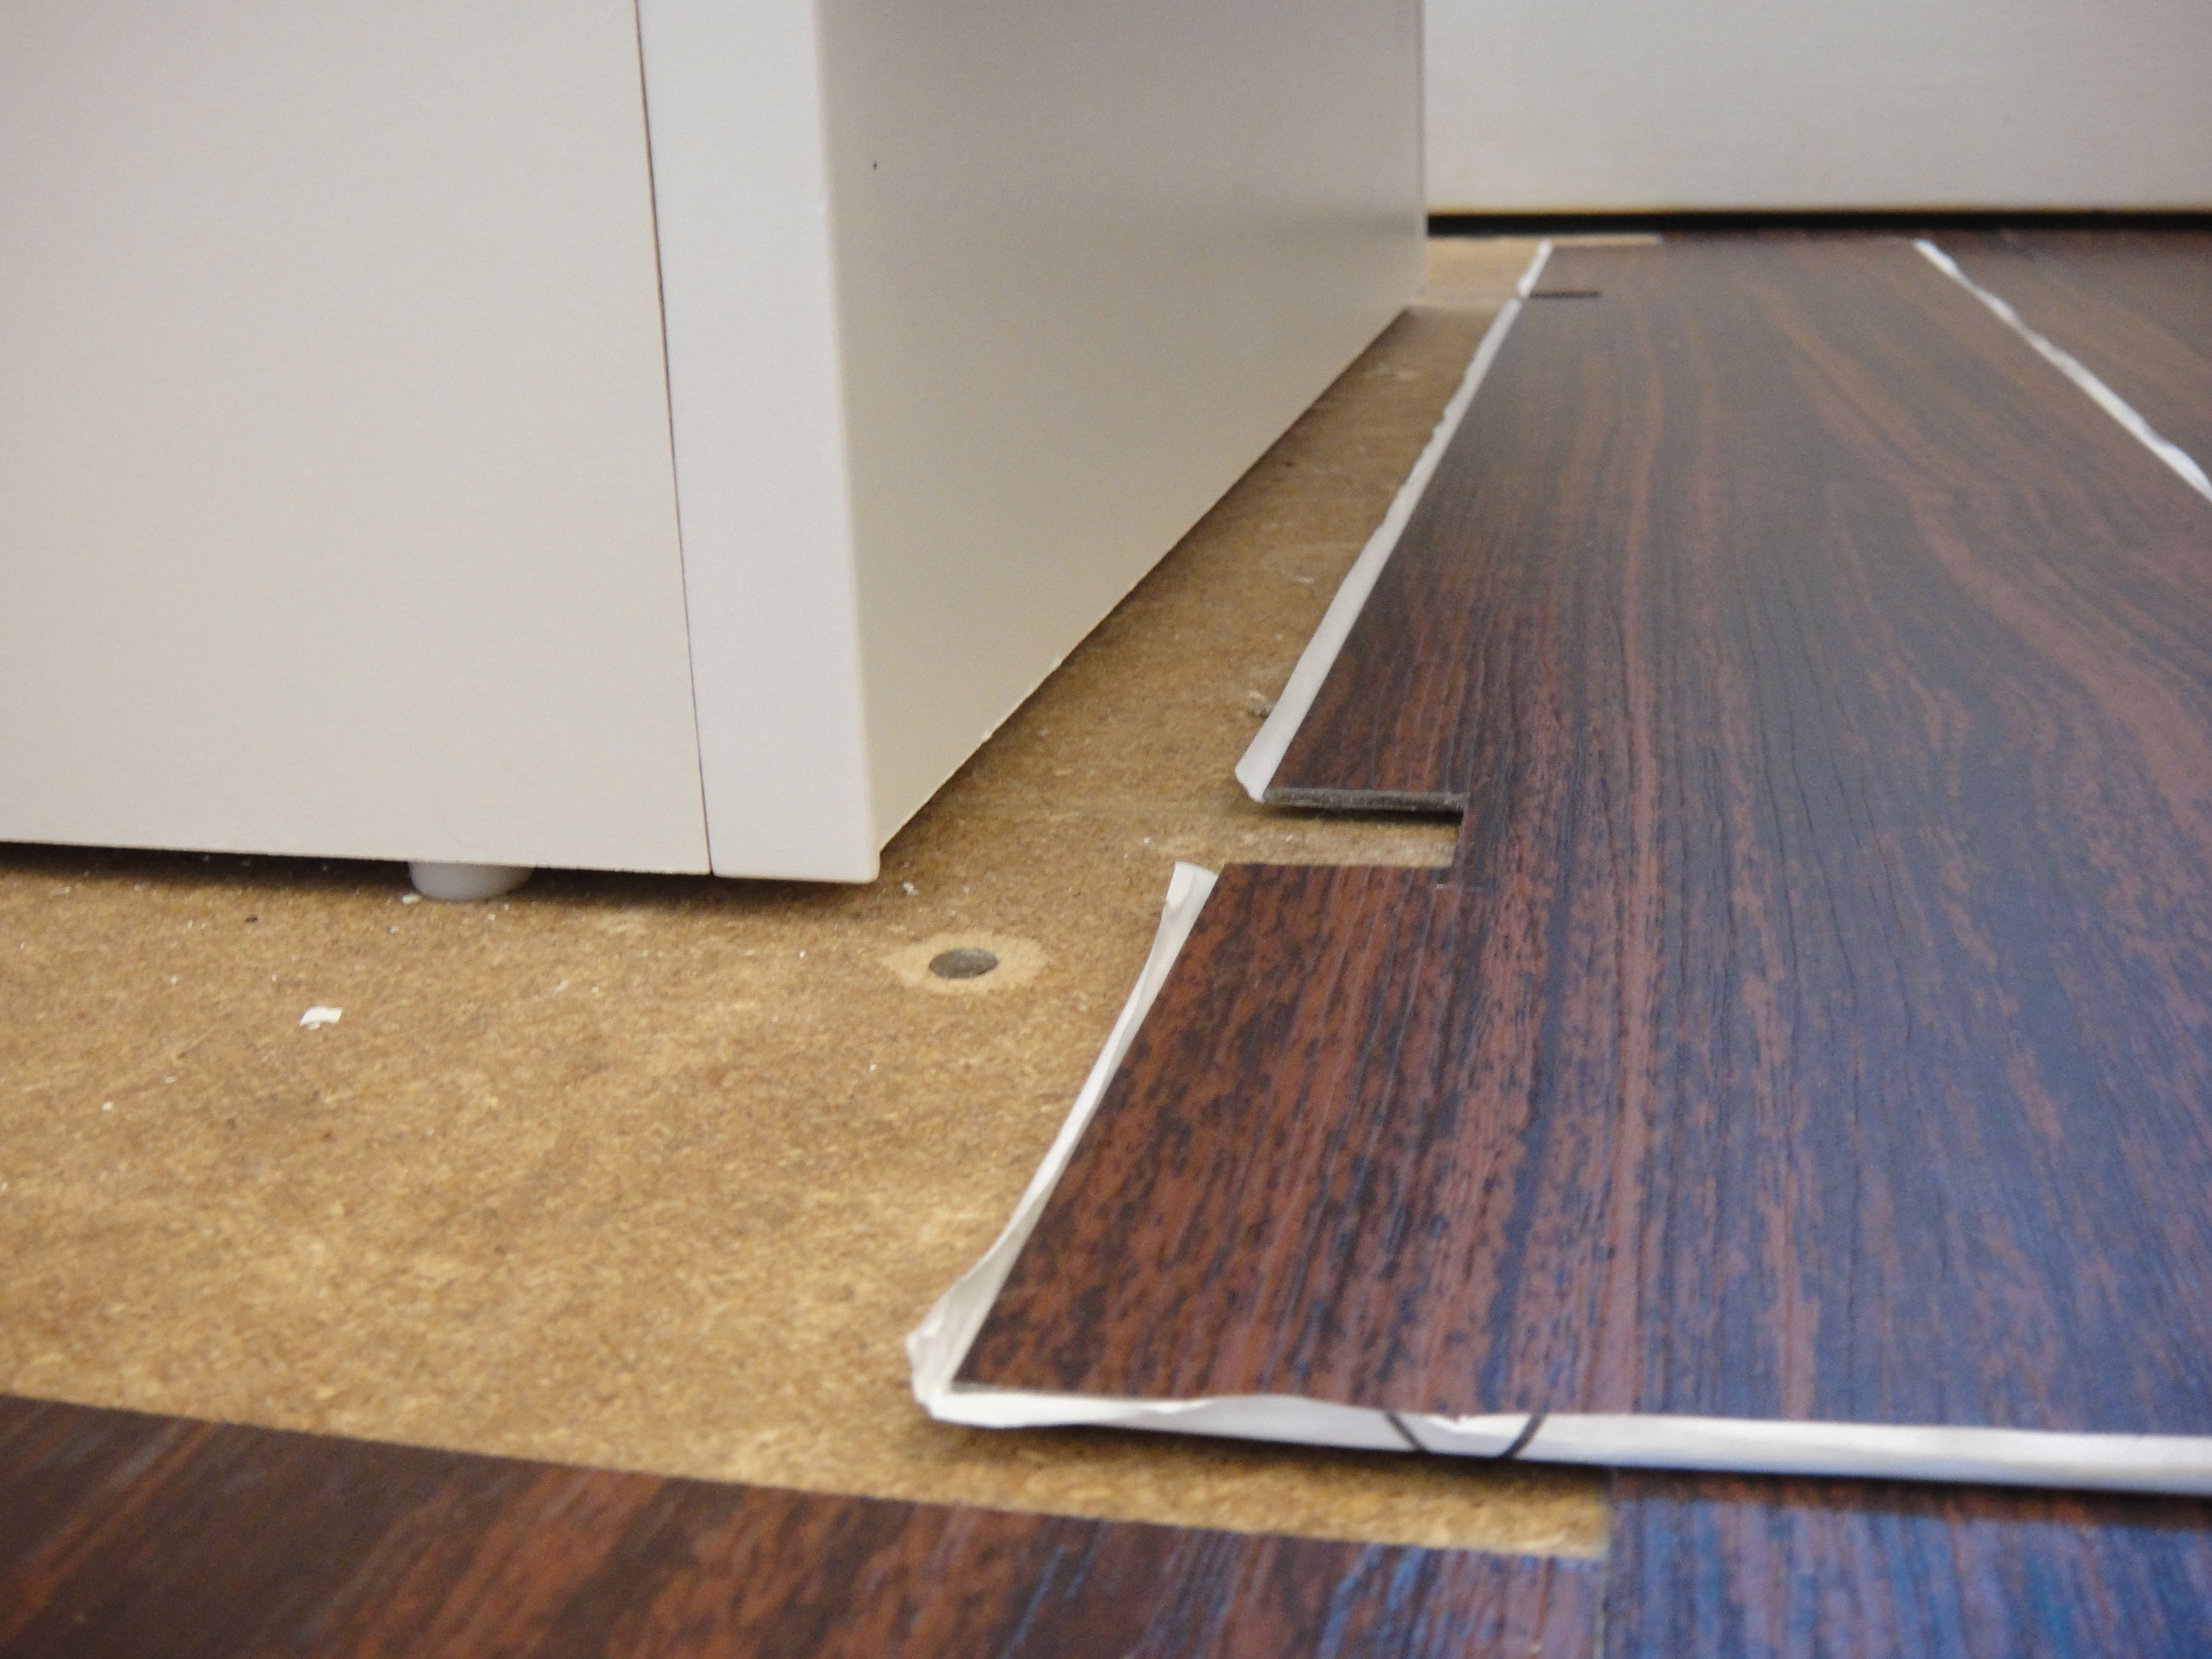
The vanity section required more precise measurements.
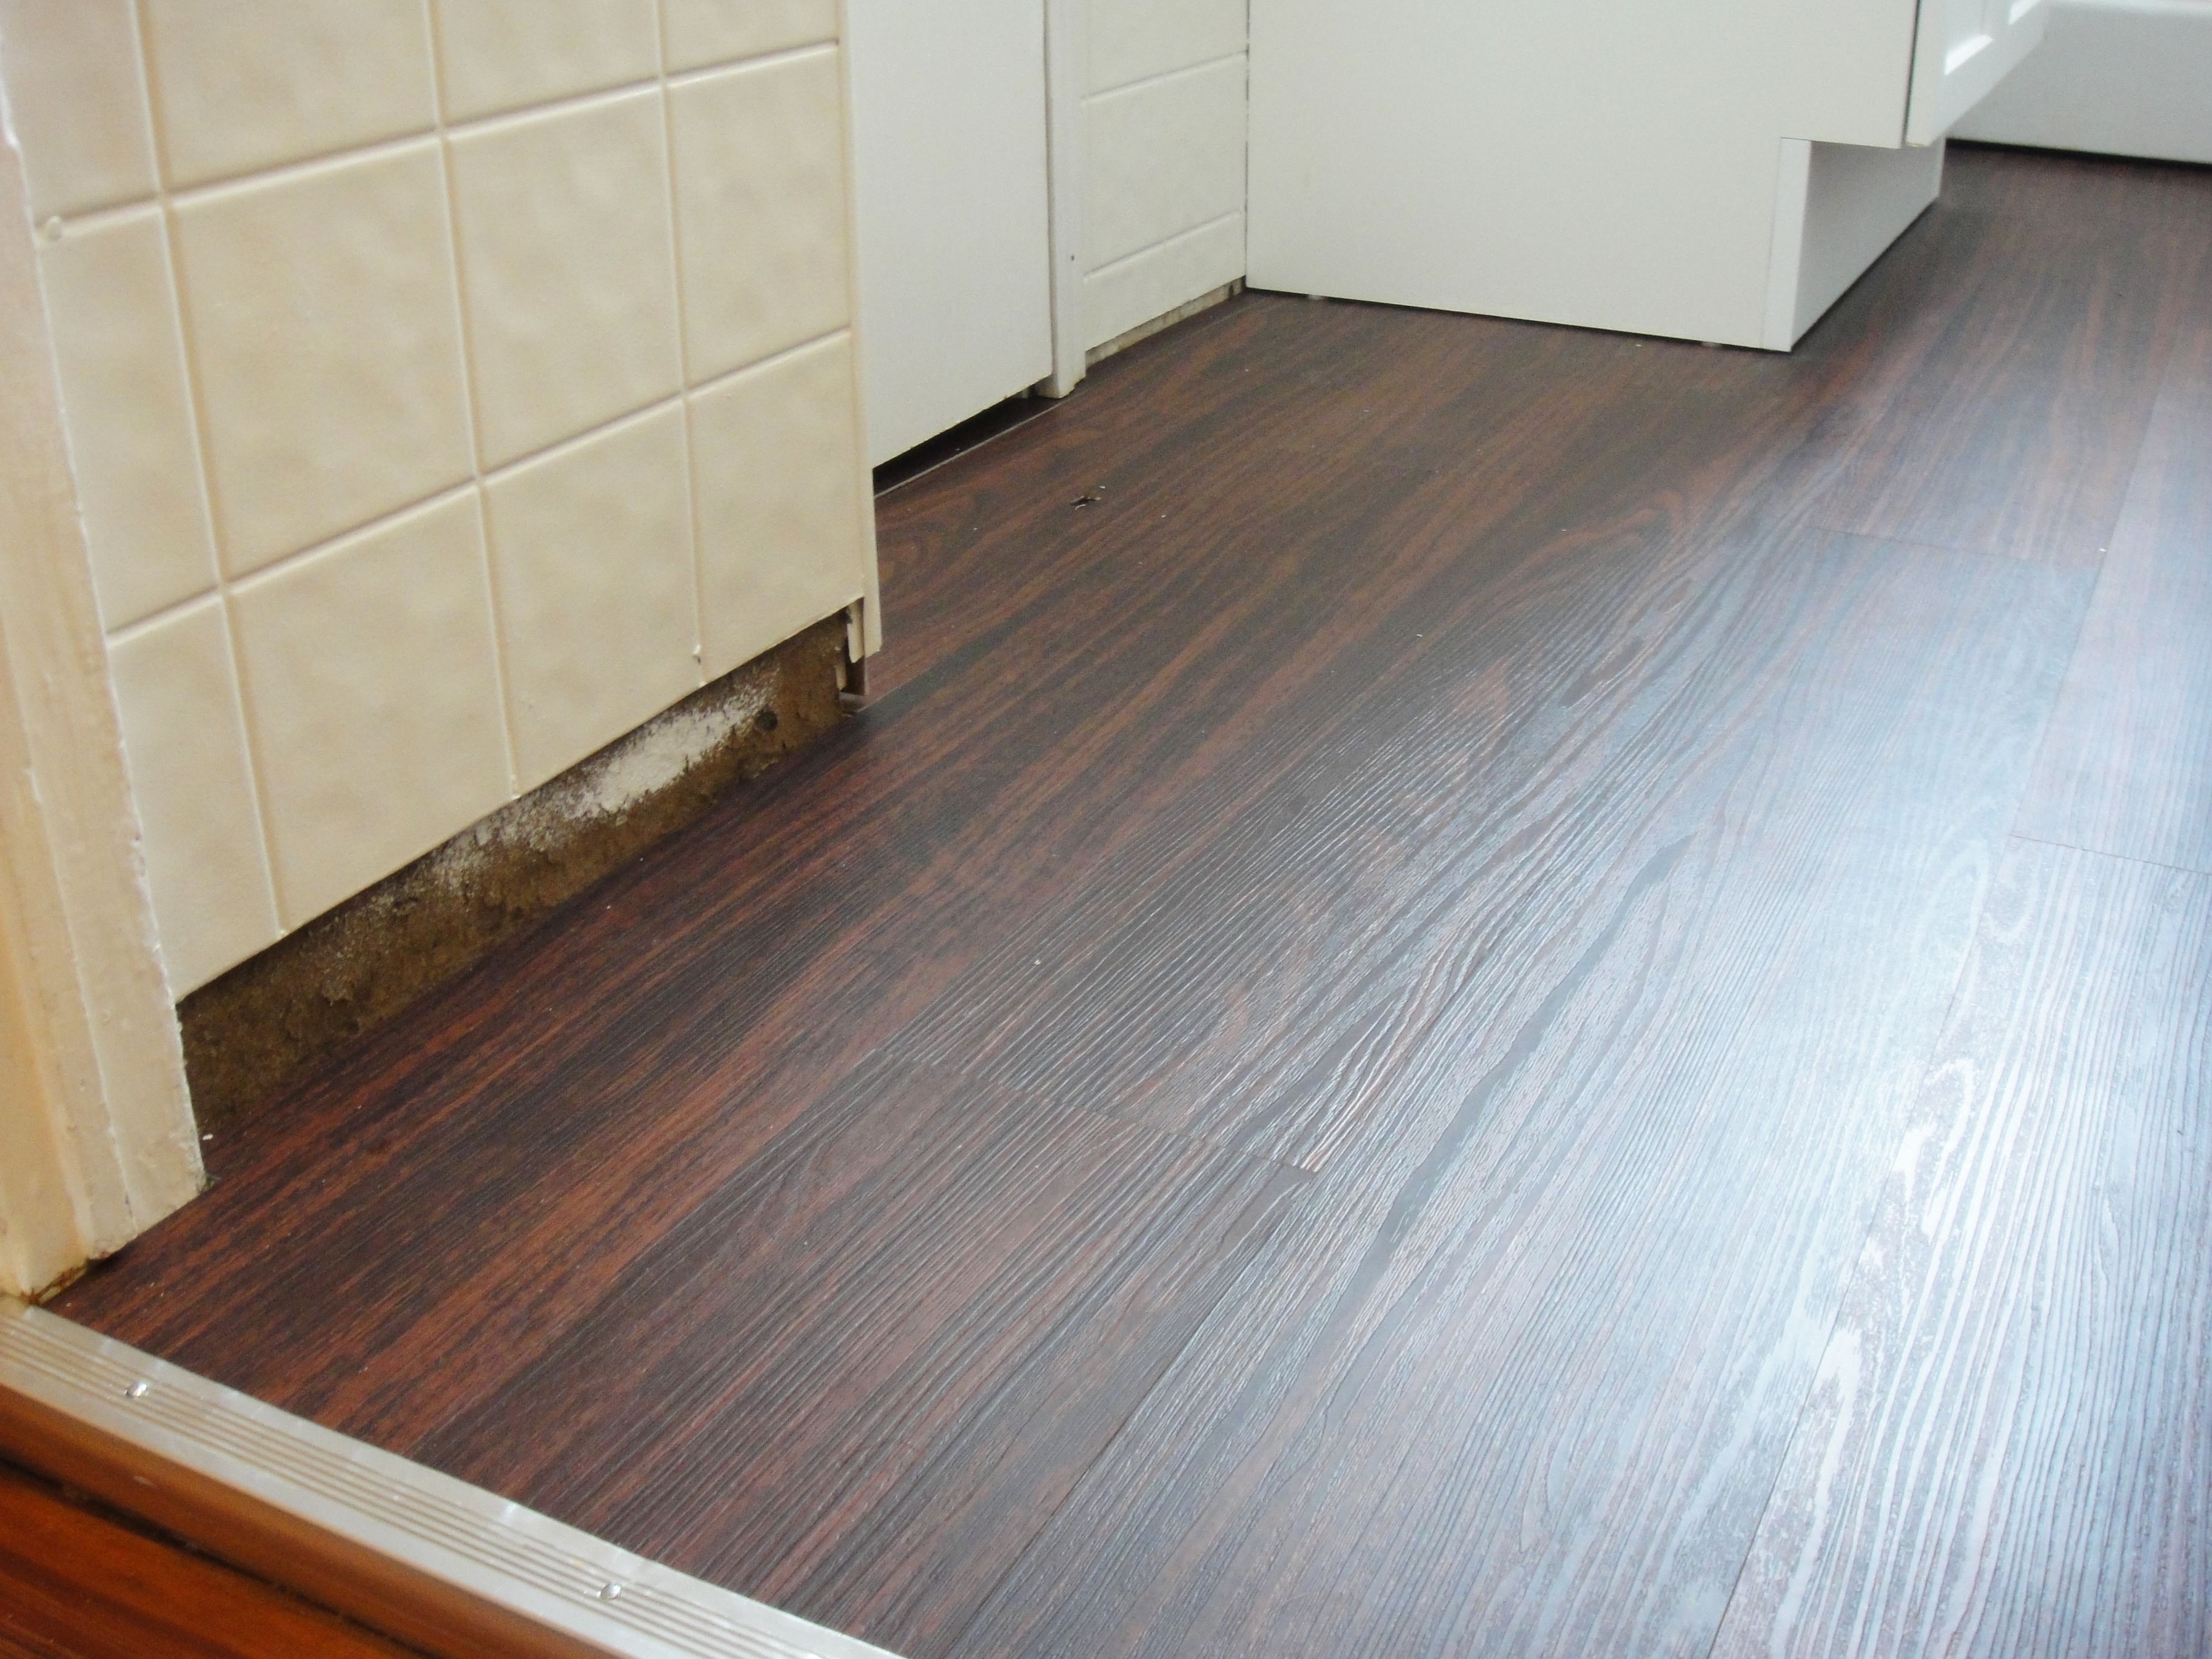
Moving on to the right side of the bathroom.
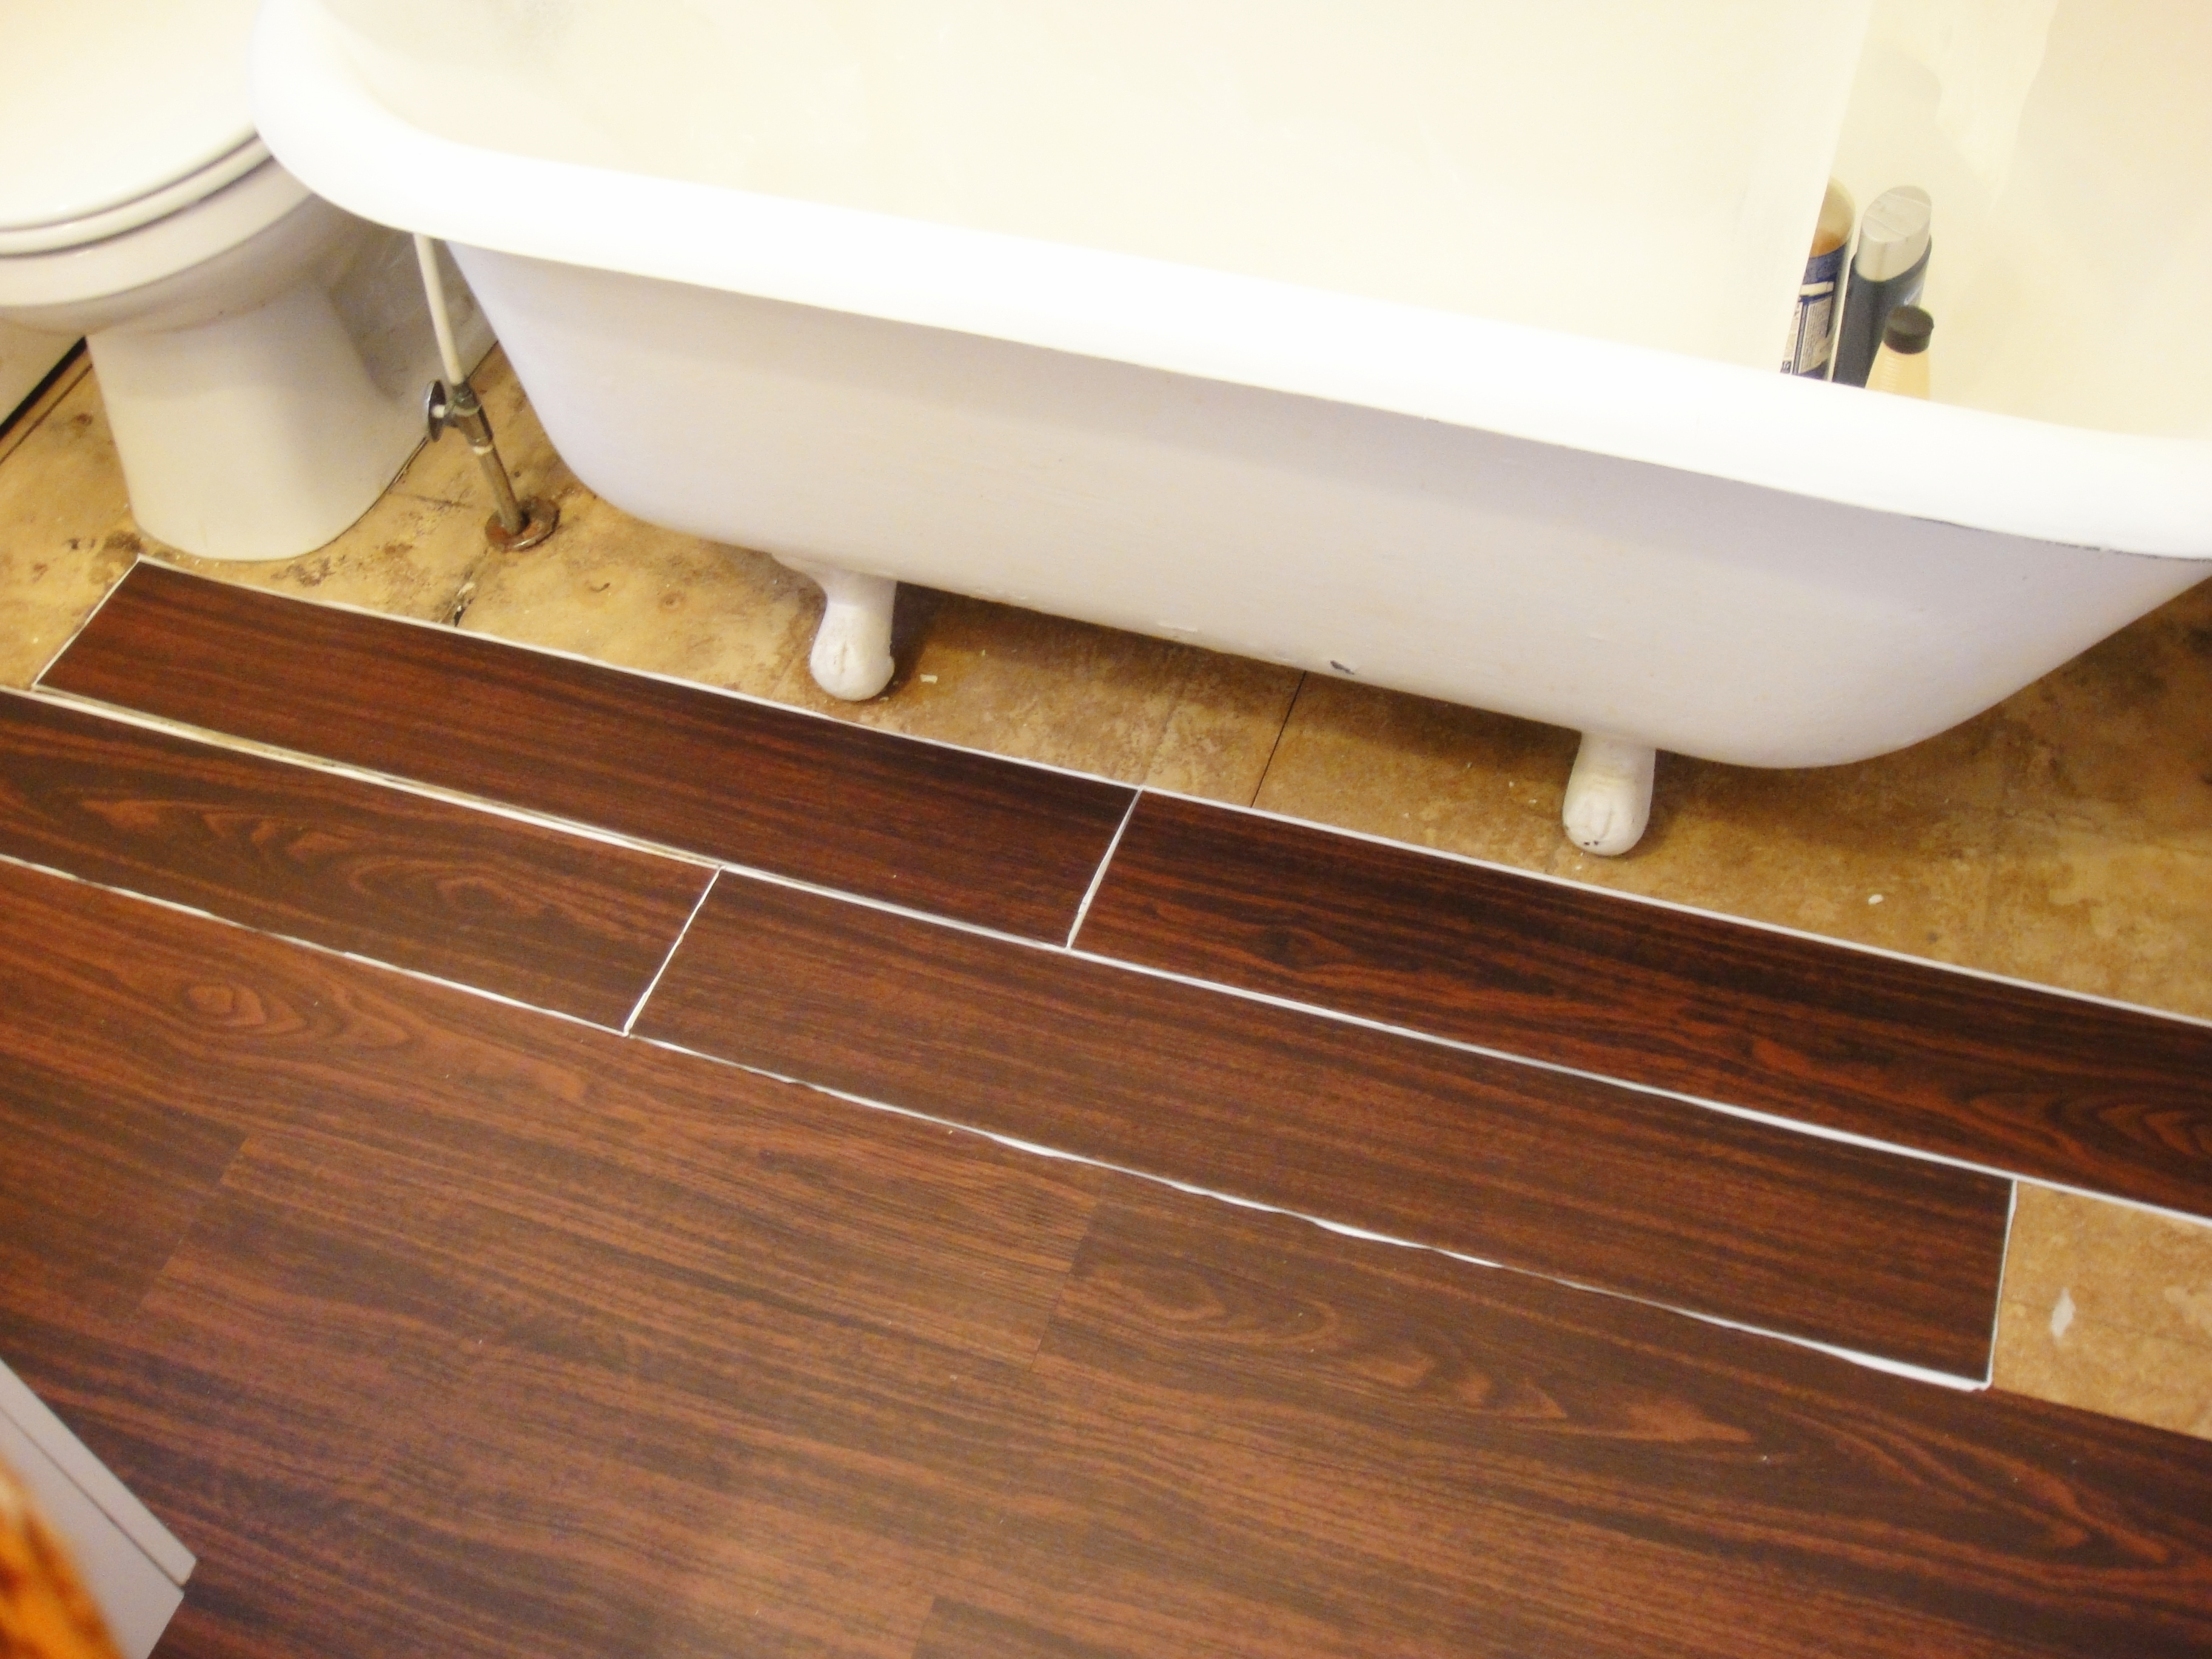
For the sections underneath the claw feet, my husband lifted the tub (after we measured, cut and dry fit the pieces) and I slid them into place.

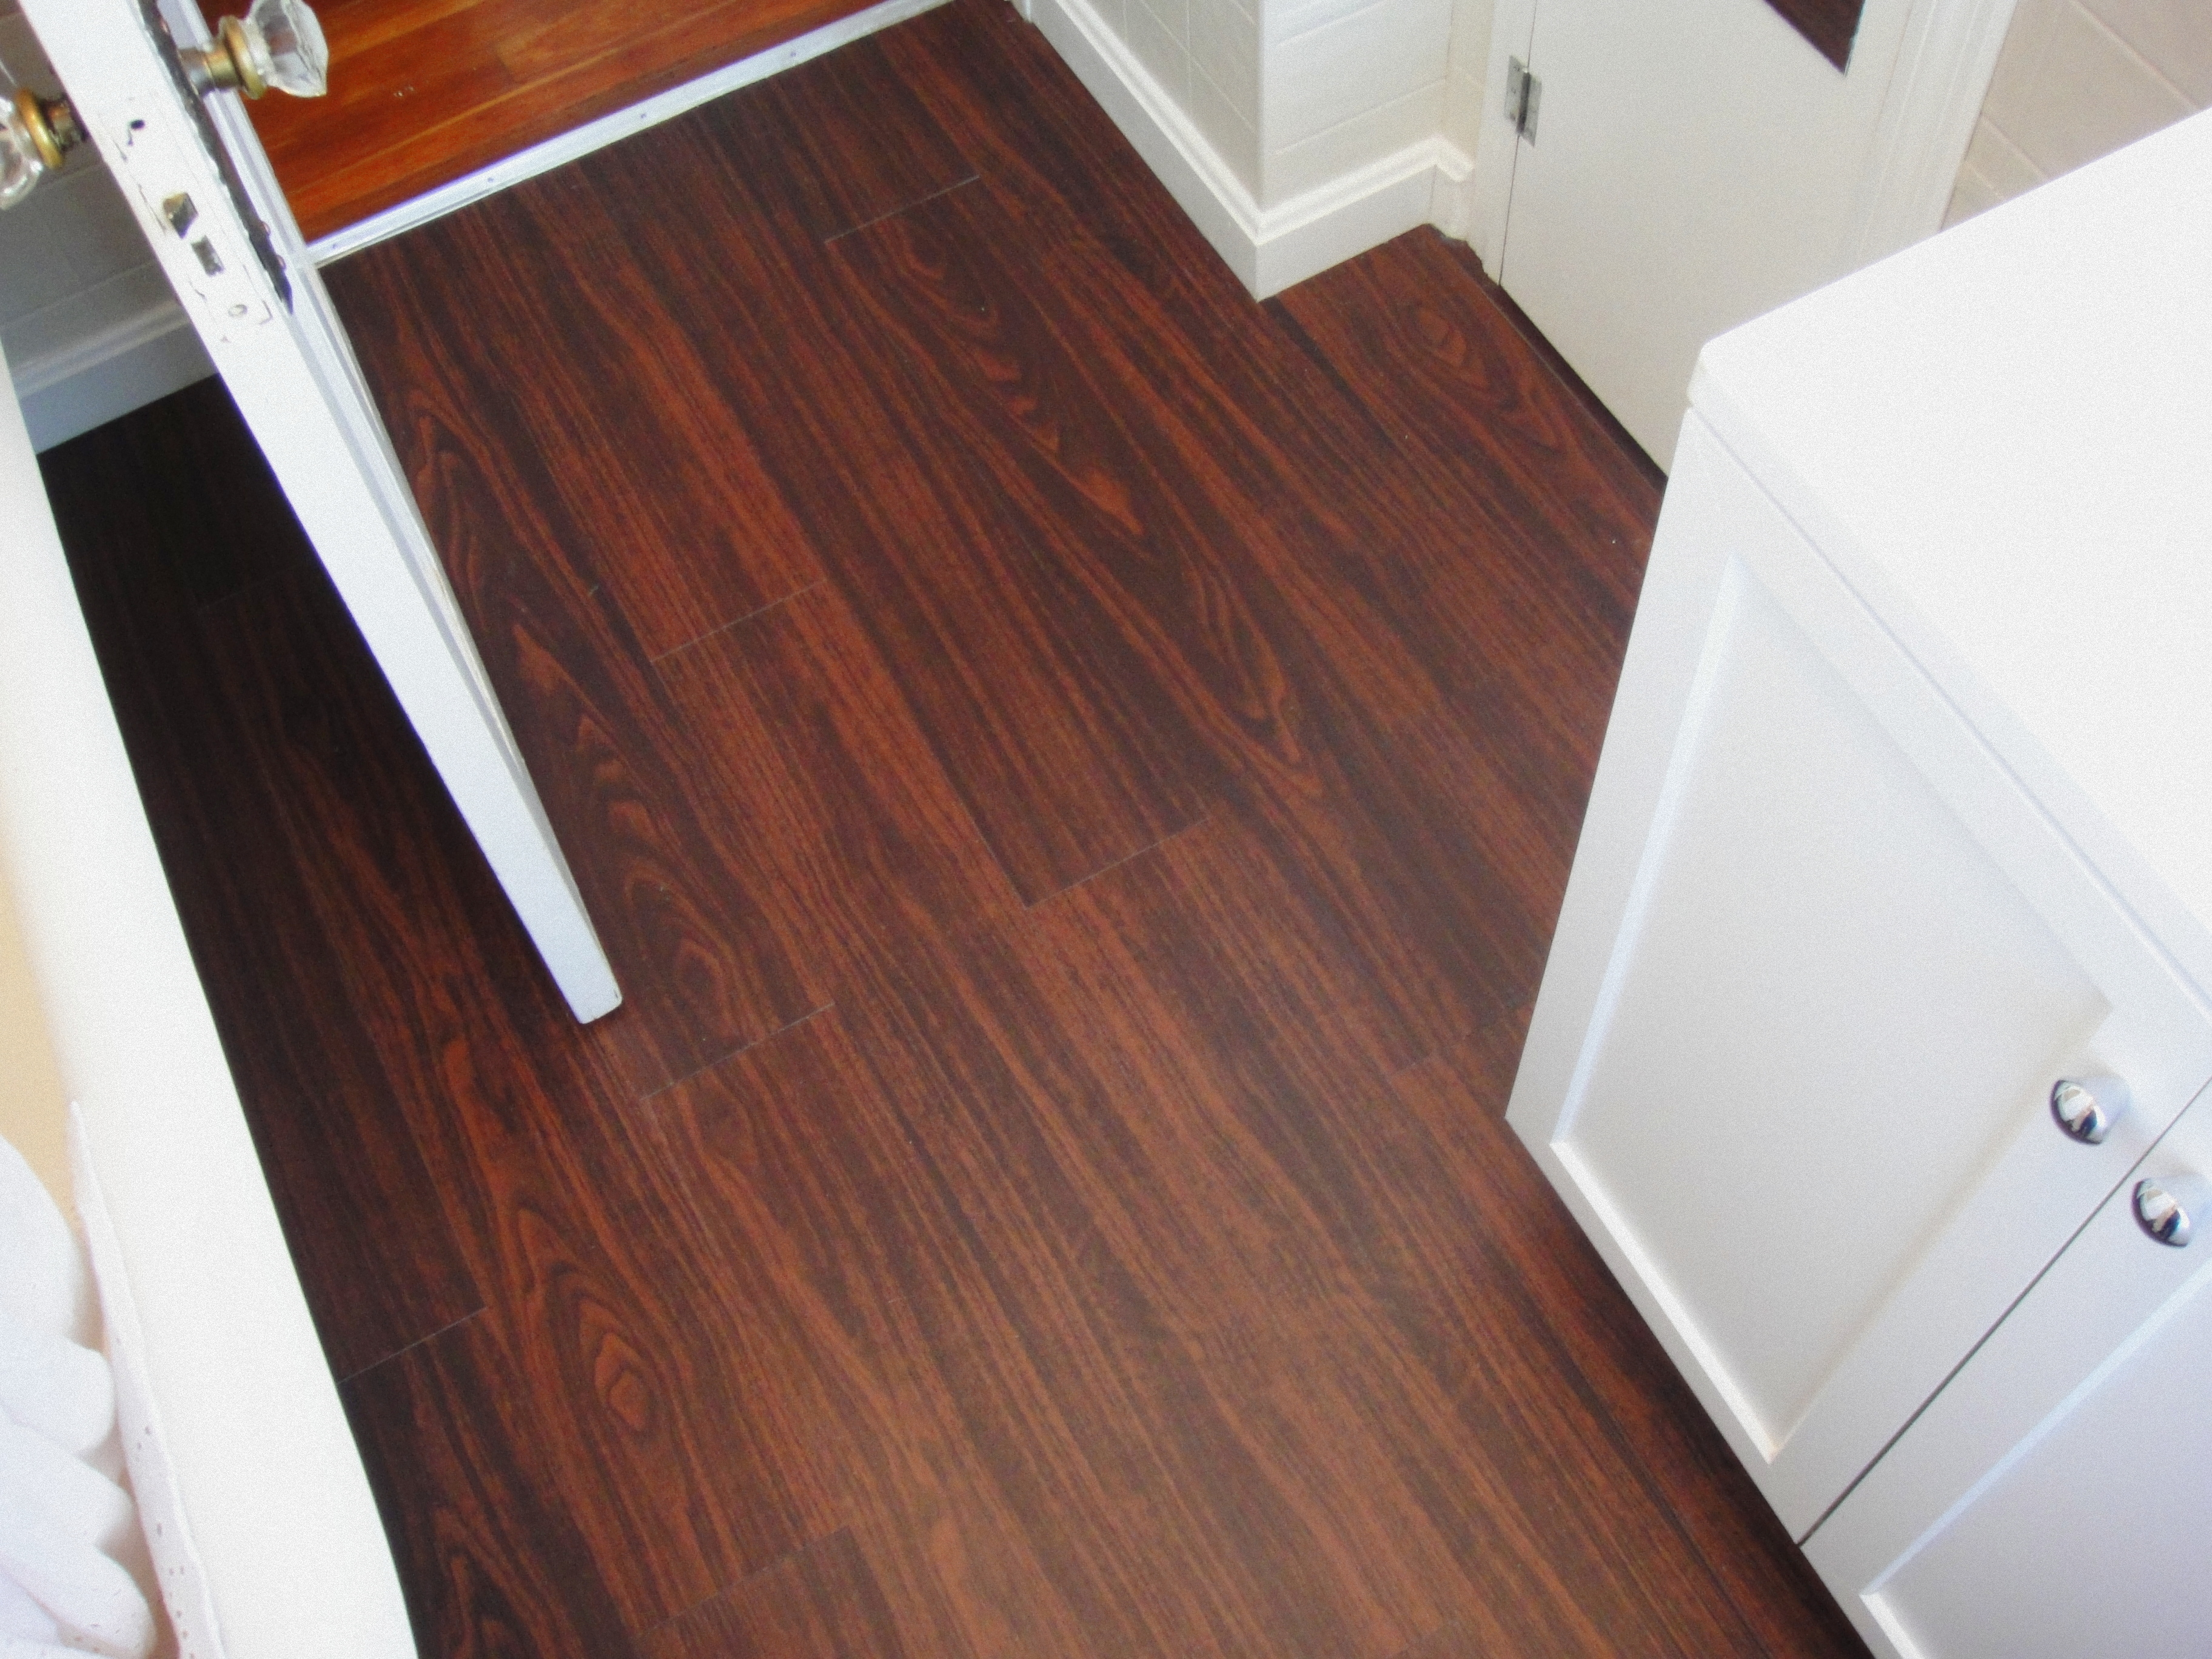
Unfortunately, I didn’t get any pictures of installing the flooring near the toilet. Rather than cutting around the toilet base, my husband removed the toilet, laid the flooring around the pipe and re-installed the toilet. Then, once all of the flooring was installed, we put the threshold back down.
Then my husband installed the baseboard trim.
Not too bad for a few hours and $58. Parts 1 through 4 of the bathroom mini-renovation can be seen here.


well done!
Thank you! I am so glad to be rid of the loose light blue floor tiles 🙂
The post is great for DIY enthusiasts who want to tackle a flooring project themselves, providing helpful advice on tools, techniques, and common pitfalls to avoid.
Thanks so much!