
Bathroom Mini-Renovation {Part 1: Before}
I’m in the middle of a mini-bathroom renovation. It started last week when one of the 12″ x 12″ light blue diamond patterned vinyl stick-on tiles loosened enough for me to see a black stain. Naturally, I immediately assumed this black stain was undoubtedly black mold. So, I pulled up the vinyl tiles and bleached the floor. Now all that’s left is to stick on some new flooring, right? Sure, except I don’t want to pick out any flooring that would in any way complement my walls, light fixtures or hardware because they are not complementary to anything that I have ever liked, ever. But, this is a bathroom we are living with until we start a major remodel so I don’t want to spend much. The goal is to stay under $150. Disclaimer: I like to think, that in most posts, I’m sharing a little beauty with the world. That is not the case with this post.
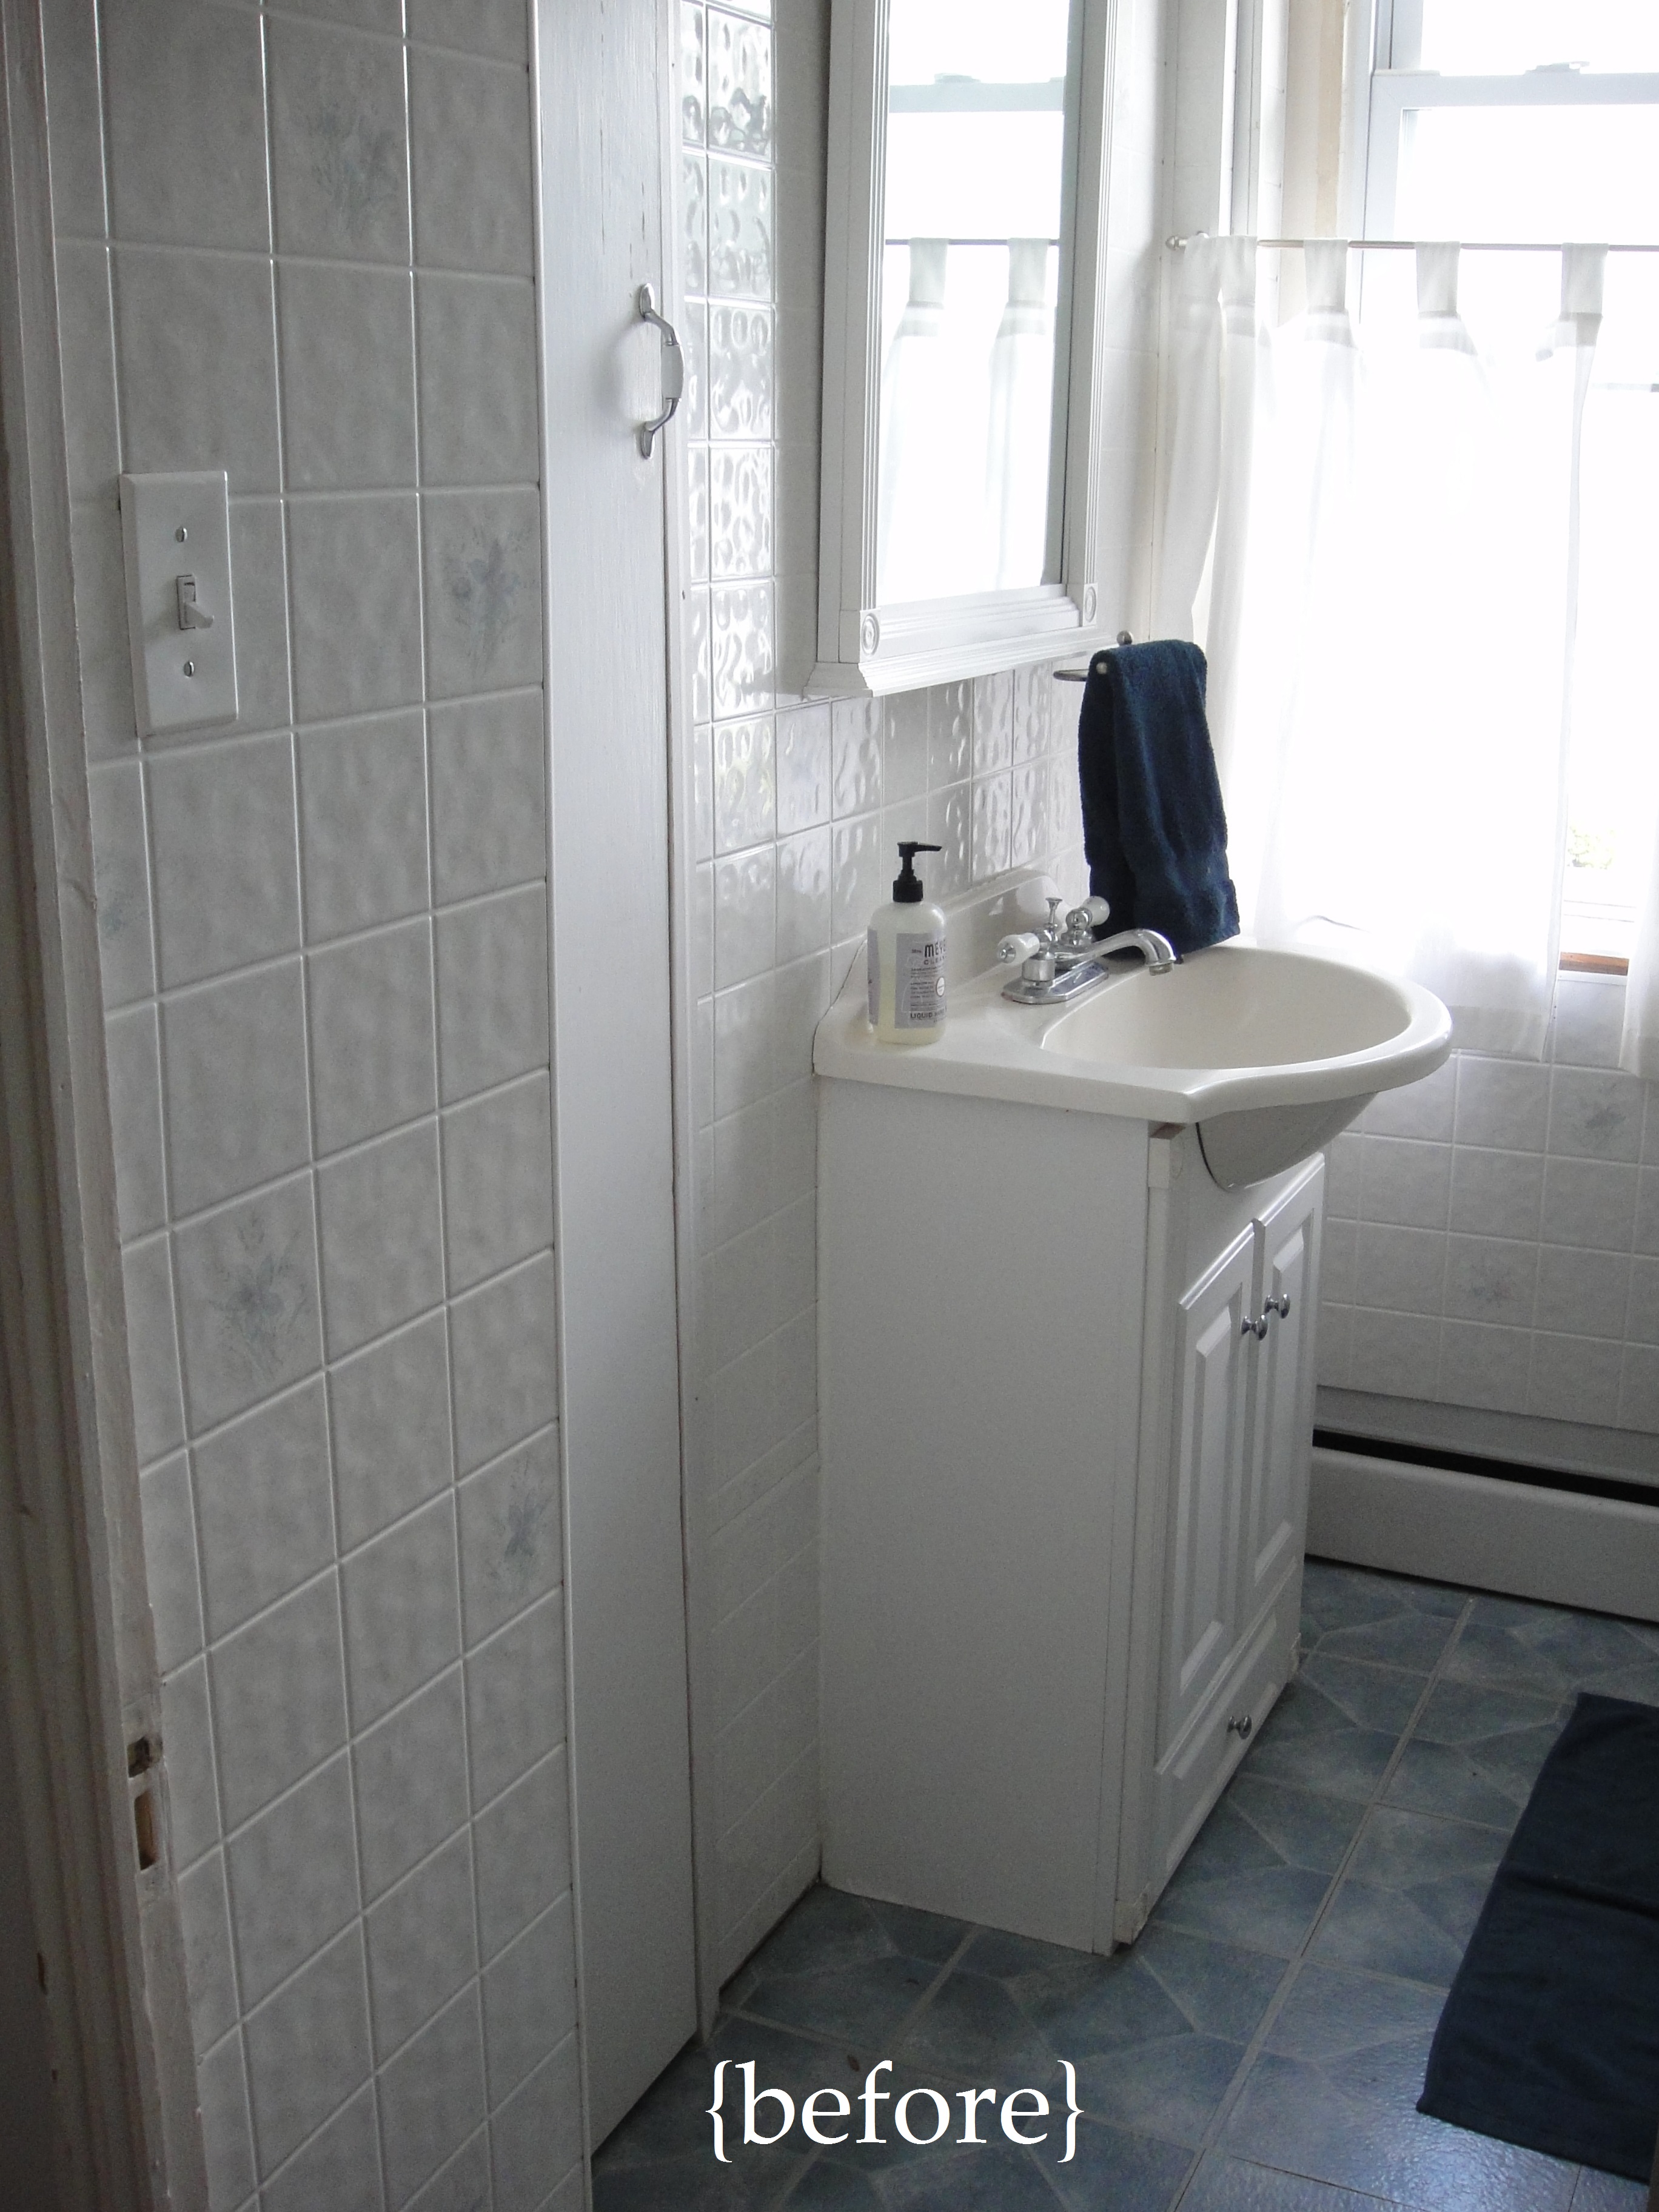
The vanity is terribly small with almost no counter space. My makeup routinely falls into the sink basin.

Every wall is covered in this plastic bluish gray floral tile board. The wall tile is the main reason I haven’t tried to update this bathroom in the past. It’s sort of a daunting surface to paint and the idea of removing it is frightening, as I have no idea what’s behind it.

A lackluster shower fixture for the claw foot tub and a builder grade light fixture for the vanity.
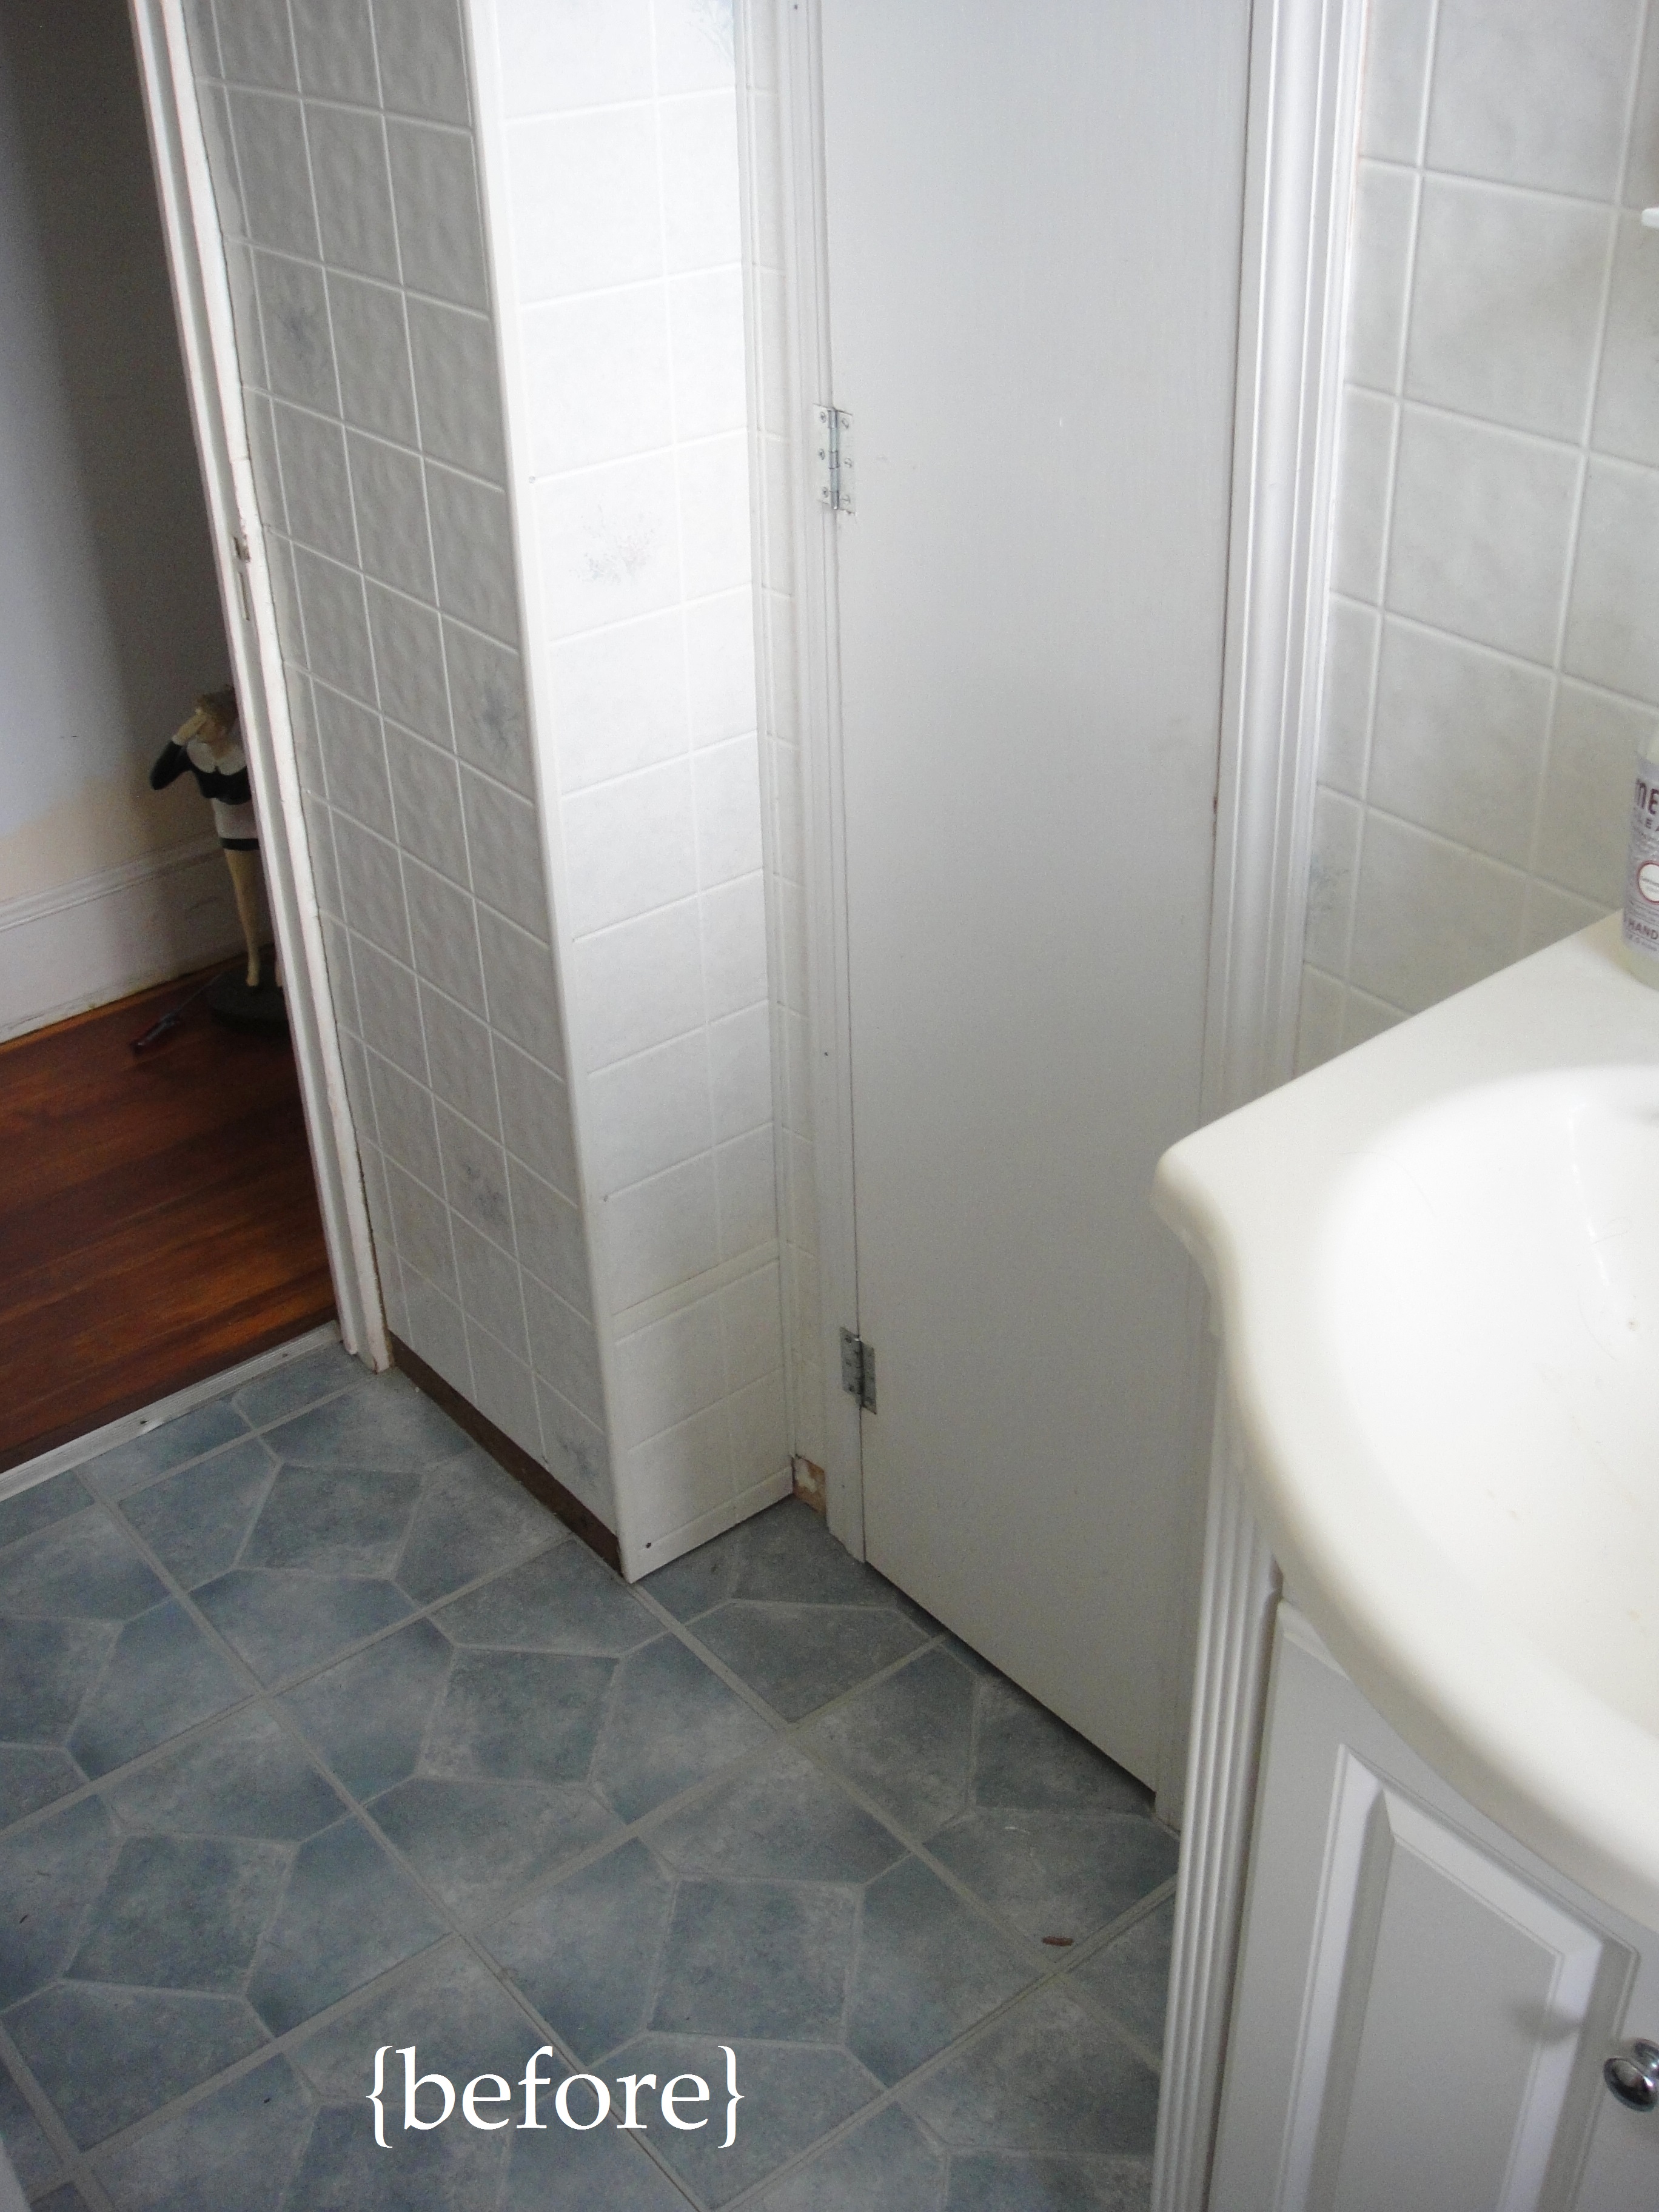
Finally, the blue .5 mm vinyl stick on flooring. Also, we don’t have a baseboard.
I’ve found a pretty awesome tutorial for a DIY window treatment online and I’ve purchased some budget conscious materials for this mini-renovation, so stay tuned for updates and the all important “after” photos!


Can’t wait to see the after!
Will be waiting with great anticipation to see the {after} look…
happy renovating~
Slowly, but surely getting there!
What type of shower curtain are you using for your clawfoot tub? About to install one and trying to figure out my options. Thanks!
Hey Kristie,
The simplest solution for me was to use two standard non-pvc shower liners to keep water from leaking out. I just cut 10″ off of the shower liner on the side closest to the wall so it doesn’t get in the way too much. I have the liners overlap slightly by the faucet and shower head and leave the opening at the other end so it’s easy to get in and out. As for the fabric curtain, I just use one standard size curtain and hem it (about 10″ again) so you can still see the feet and the pretty details of the claw foot tub. Hope this helps and good luck!